When I was growing up, my mom had tons of my grandmother’s old quilts. She had a linen chest bedding storage system at the foot of her bed that was solid wood and absolutely gorgeous. It was made out of cedar and I’m pretty sure it was an antique that cost a whole heck of a lot of money.
I have wanted my own linen chest bedding storage space for years but the prices I have seen online are just way too expensive for my budget. Recently, I came across an old pine chest at my neighbor’s garage sale a few weeks ago and decided to try to renovate it and use it for blanket storage in my bedroom.
I thought I would share my experience with our DIY linen chest project as well as a few affiliate links for products we found useful. Now that I have tried my hand at furniture renovation, I may just have to keep my eye out at garage sales for more upcycling projects!
Posts feature partner companies & may be sponsored. Post contains affiliate links & I will be compensated if you make a purchase after clicking on links. As an Amazon Associate I earn from qualifying purchases.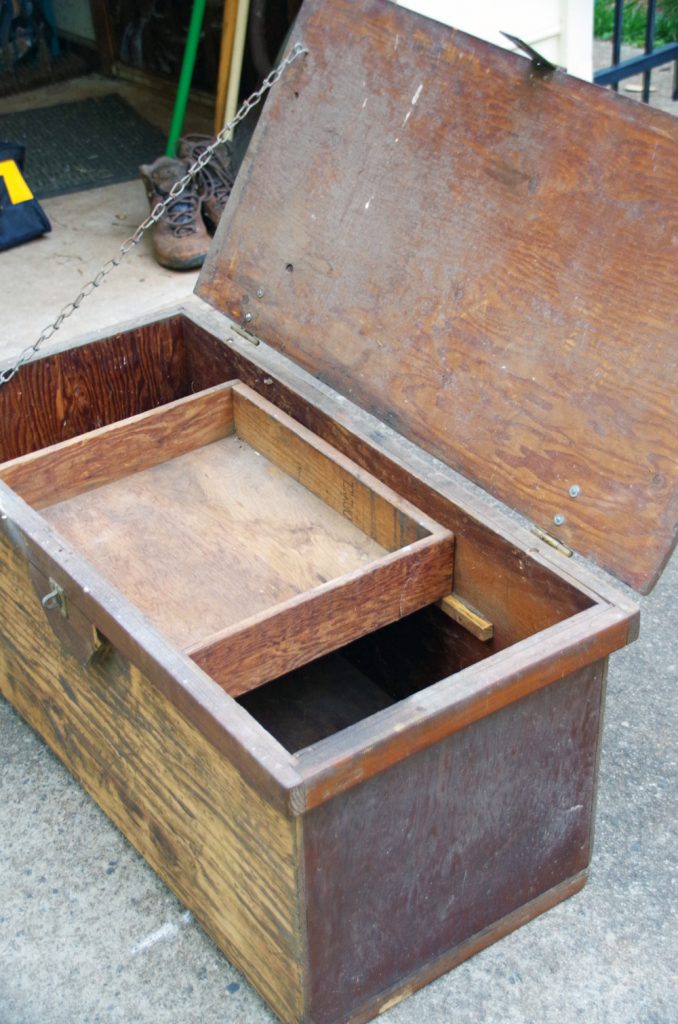
Table of Contents
Renovated Linen Chest Bedding Storage
So, the linen chest that we got from our neighbor was made by their grandfather about 80 or so years ago. It is solid pine, although not the best quality wood in the world. It was used as a tool chest for years and needed some serious amounts of work to turn it into something I would put blankets in.
✯Don’t want to miss the next post?✯ Follow Turning the Clock Back on Facebook | Twitter | Pinterest Or join the private Facebook group for simple tips on going green! 
Cleaning the wood
The wood itself was incredibly rough and it needed a really good cleaning before we got started. I used a damp cloth to wipe down the inside and outside of the linen chest and then we tackled all the flat surfaces we could with an orbital sander. We sanded for DAYS. (seriously…it seems like we went over it about 3 or 4 times until it got really smooth!).
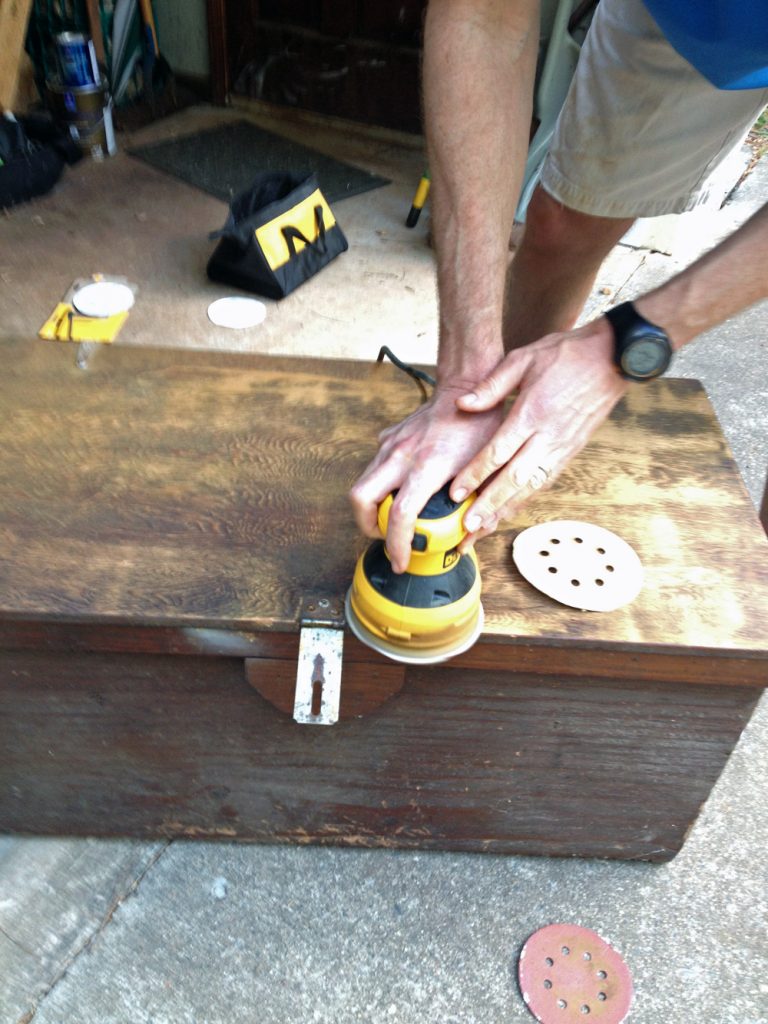
We used handheld sandpaper for the inner tray and all the corners we couldn’t reach with the orbital sander. Once it was as smooth as we thought it was going to get, it was time to stain.
Choosing the paint
Let me just say that I looked everywhere for the greenest option I could find to paint and/or stain a piece of furniture. I found pretty much nothing in any of the hardware stores around here. I wanted to try milk paint but no one had ever even heard of it. Yes, you can buy it online but I didn’t have anyone I could talk to about their experiences with it and decided to go for what I found locally.
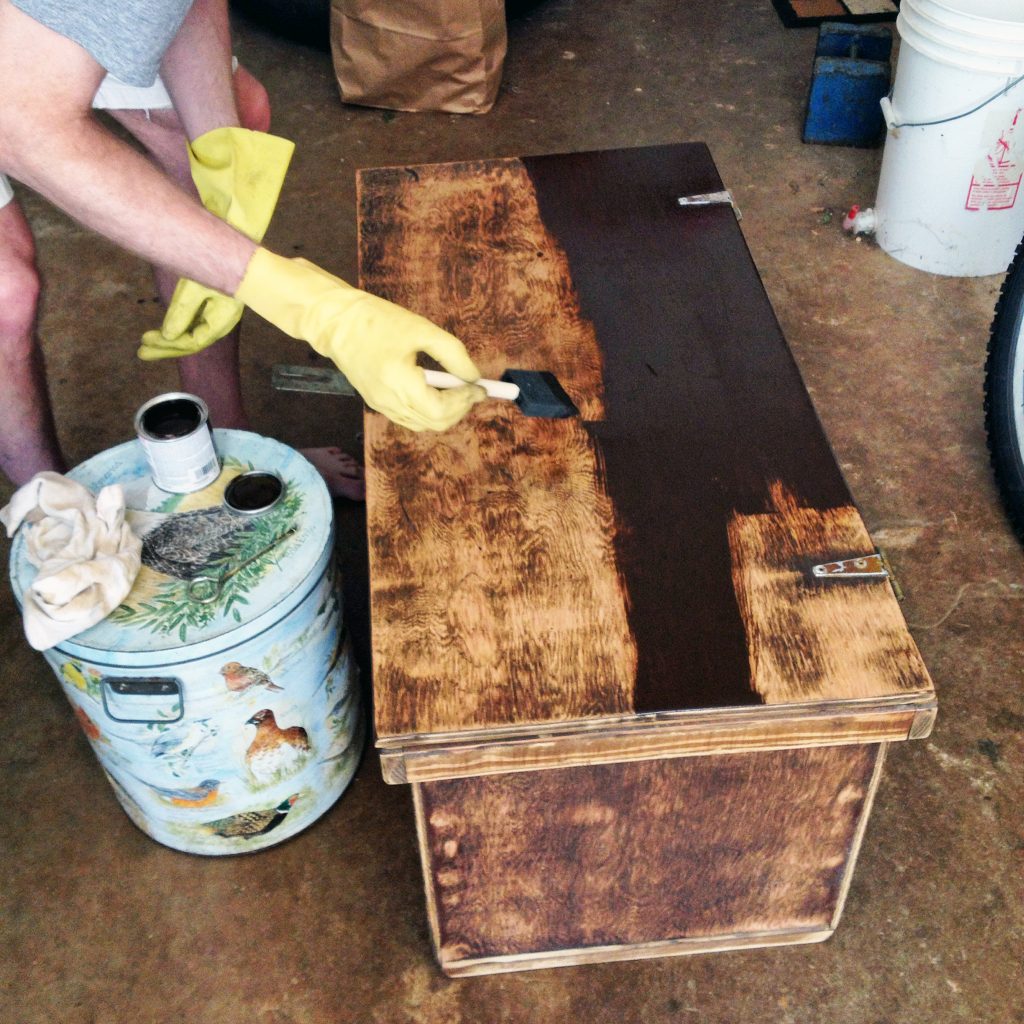
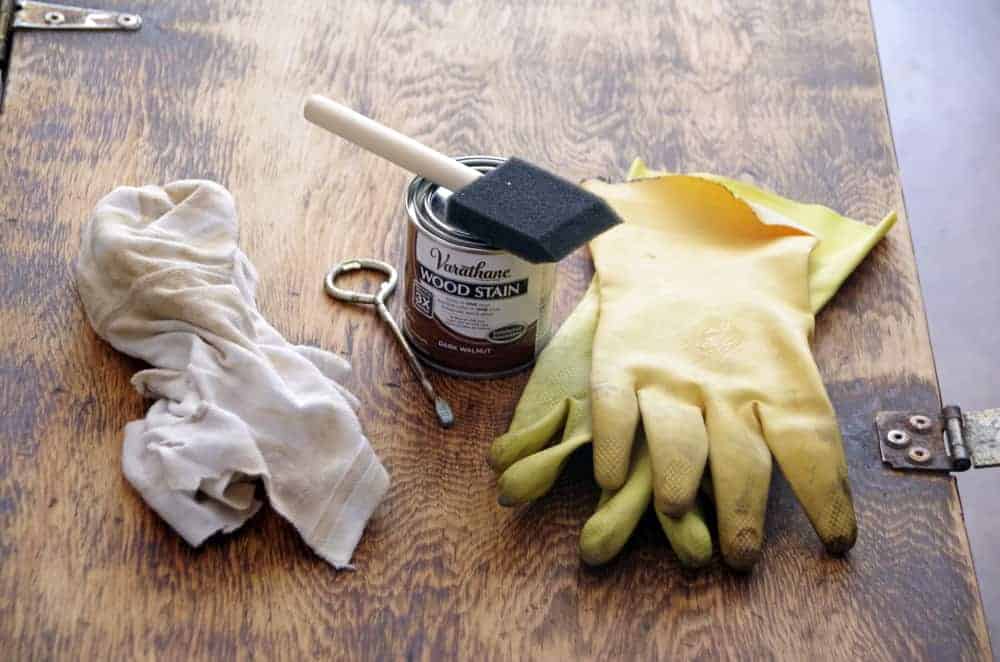
I chose a water-based, low VOC Varathane wood stain. We wore rubber kitchen gloves and made sure we had plenty of ventilation. I chose a dark walnut finish which was a bit darker than I wanted but covered up the patchy look that the chest still had from its previous stain.
The stain went on easily, both inside and out. We let it air dry for a few days but only needed one coat of stain. The biggest problem we had was how to handle the hardware.
Replacing the hardware
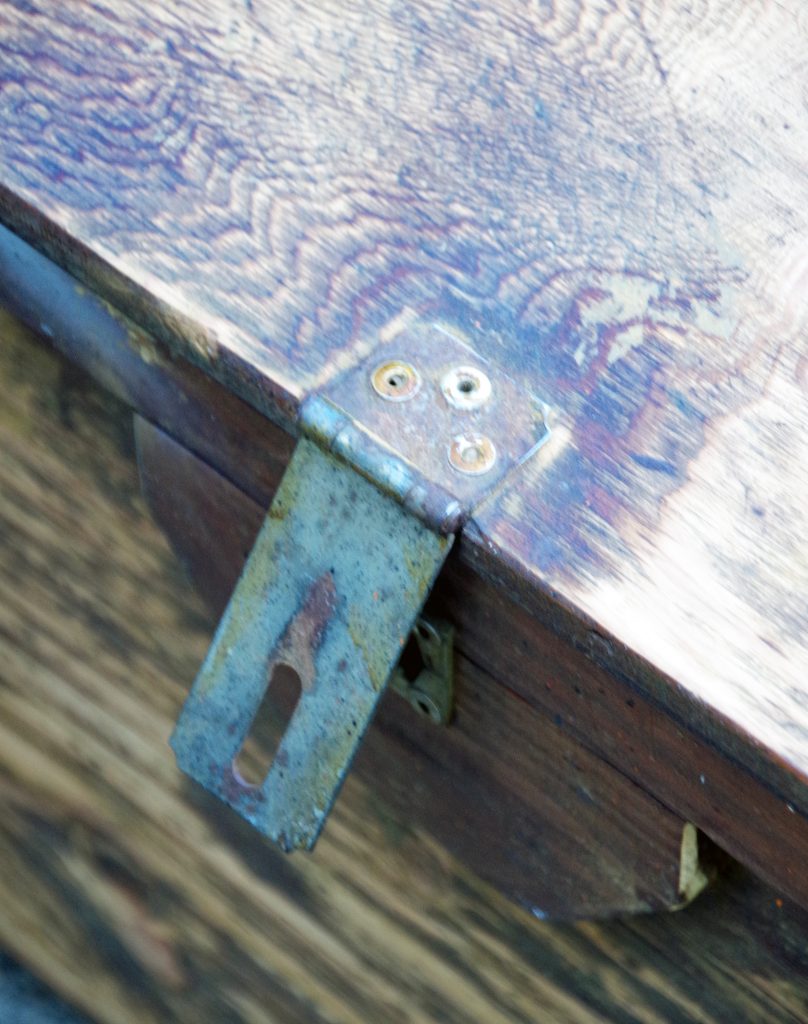
Originally I wanted to replace the hardware but it could not be removed without damaging the wood. They used some sort of attachment that could not be unscrewed at all so we chose to use copper spray paint instead to make it look a bit newer. Not the best option but we didn’t have much choice.
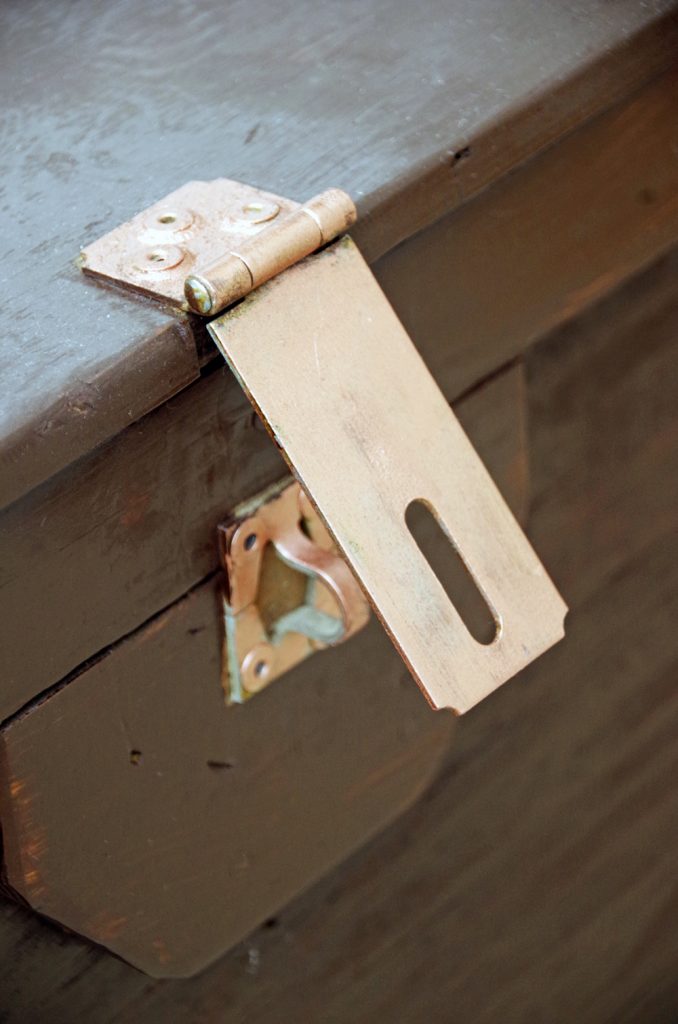
Instead of actually spraying the paint (way too messy!), we sprayed it onto a paper plate and used a small brush to brush it on. We used a little bit of WD-40 on the hinges to get them to move a little bit easier.
Finishing Touches
Once everything was dry, we let it air out for a few days in the garage and tossed in some cedar sachets to make the inside of it smell nice. I lined it with contact paper on the bottom as well.
Next, just add your blankets and enjoy a little extra storage space!

My linen chest bedding storage is nowhere near as nice as my mom’s but it was inexpensive and I feel good knowing that I gave new life to something that a person worked hard to build by hand a really long time ago.
More Home Decor Ideas
You can upgrade your home decor on a budget by upcycling or buying second-hand. Check out my post on how to make a wine bottle lamp or my discussion about becoming an eco-friendly homeowner.
Do you have a linen chest in your bedroom?

Diane is a professional blogger and nationally certified pharmacy technician at Good Pill Pharmacy. She earned her BS in Microbiology at the University of New Hampshire and has worked in cancer research, academics, and biotechnology. Concern over the growing incidence of human disease and the birth of her children led her to begin living a more natural life. She quickly realized that the information she was learning along the way could be beneficial to many others and started blogging and freelance writing to share this knowledge with others. Learn more about her HERE.
Wow, you guys did a great job! That linen chest looks beautiful. Good idea to spray the hardware with copper. The color of that matches the chest nicely. We don’t have a linen chest, our blankets are just on a shelf in the closet.
Thanks…It turned out pretty well. Before the linen chest, the blankets were just piled on top of the dog crate so this is a big improvement!