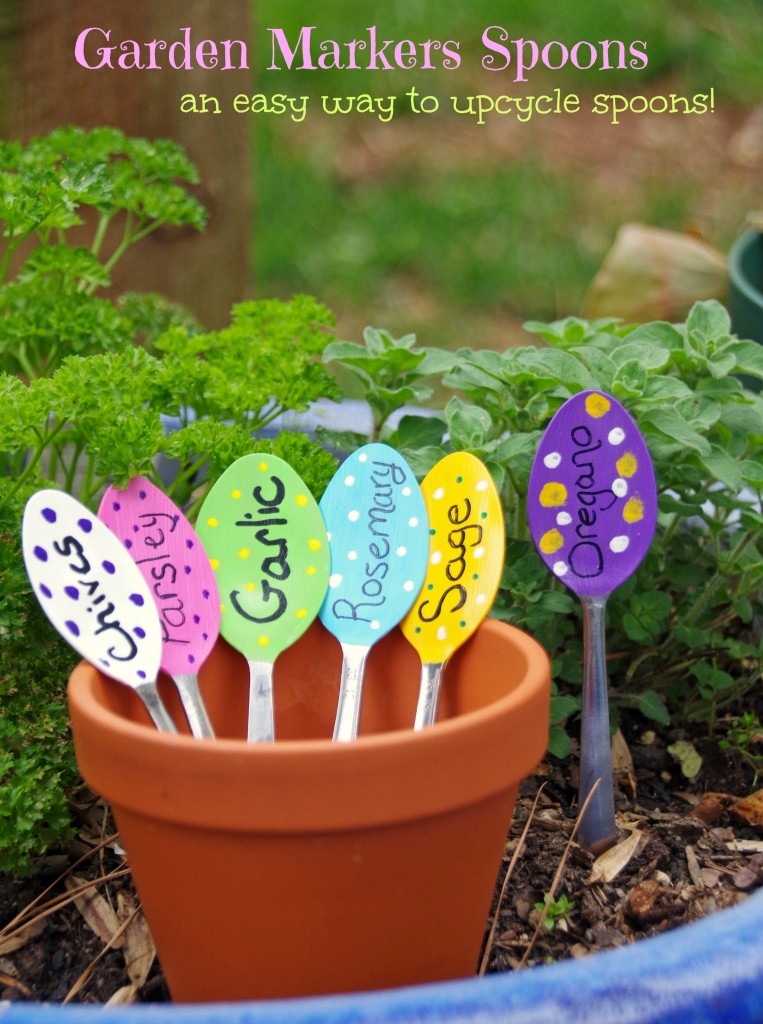
Learn how to create easy DIY garden markers for your garden so you can stop wondering what you planted everywhere. These plant markers use upcycled spoons which makes them a seriously frugal garden craft.
Posts feature partner companies & may be sponsored. Post contains affiliate links & I will be compensated if you make a purchase after clicking on links. As an Amazon Associate I earn from qualifying purchases.
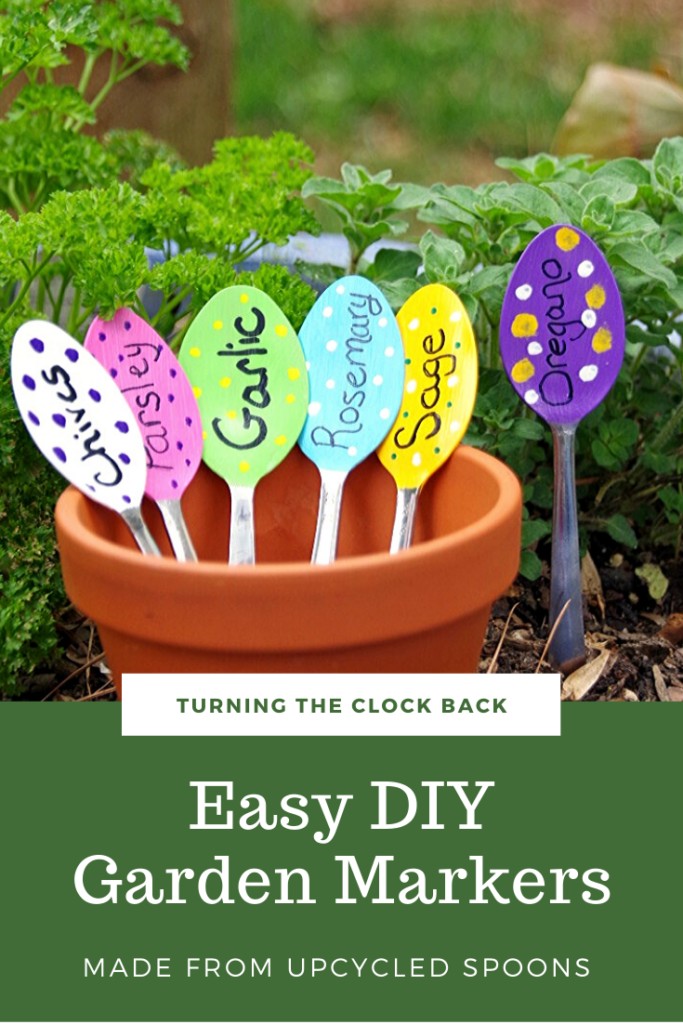
Table of Contents
Upcycled Spoon Plant Markers are a Frugal Garden Craft
A few months ago I went on a bit of a thrift store shopping spree and found a package of about 30 metal spoons for only $3. Who could resist such a deal, right? I could stop worrying about my kids losing the spoons I put in their lunchbox and have plenty of them left over for a few spoon crafts.
I decided that with spring coming I would make these DIY garden markers spoons to keep track of the things I plant in the garden. If you want to make these frugal garden markers, head to your thrift store. Metal spoons or old wooden spoons will both work for this garden craft.
✯Don’t want to miss the next post?✯
Follow Turning the Clock Back on Facebook | Twitter | Pinterest
Or join the private Facebook group for simple tips on going green!
Why make plant identification markers?
I have a horrible memory and I find that those little plastic markers that come in the pots from the nursery always seem to get eaten by the dog or lost in the dirt! Hopefully, these DIY garden markers spoons will last longer and the dog won’t decide to run off with them!
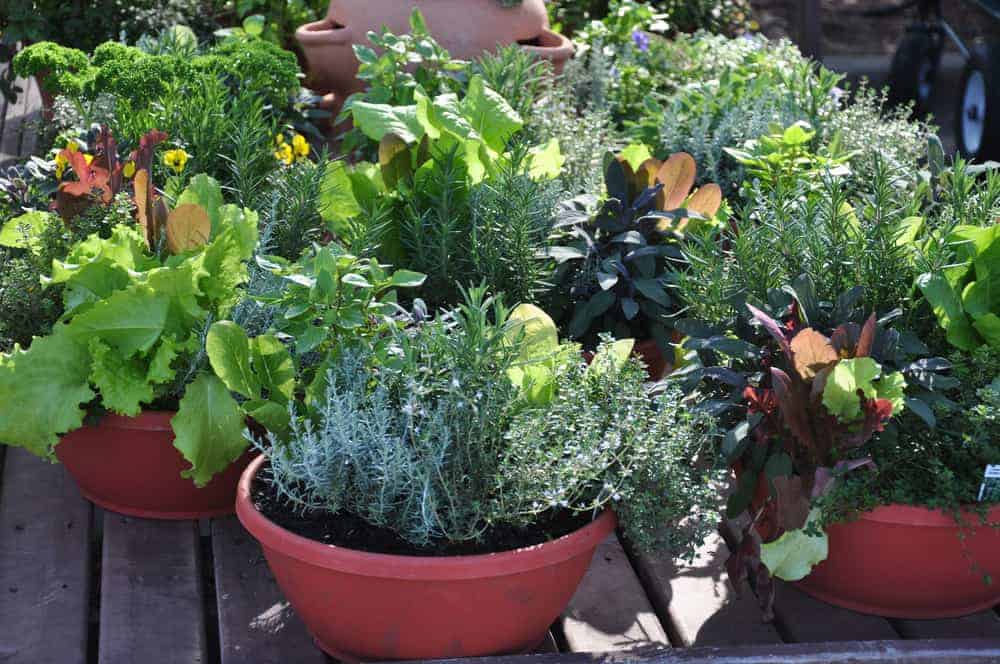
If you are as forgetful a gardener as I am, these garden markers spoons may be just the thing you need in your own garden! Make them for container gardens or full-sized backyard vegetable gardens. They also make a great homemade gift idea for gardeners.
I find them particularly helpful when planting crops that overwinter. That way I don’t forget what is under the ground when spring arrives. For ideas on what crops overwinter, check out my post on what to plant in November for a few ideas.
Easy DIY Garden Markers Spoons Supplies
Here are a few things you will need to make your own weatherproof plant markers.
- metal spoons
- hammer
- old towel
- indoor/outdoor craft paint
- paint brushes
- newspaper
- Qtips or multi colored paint pens
- paper cups to use as spoon holders while paint dries
- black paint marker or broad tipped permanent marker
- outdoor ModPodge
Directions for making metal plant markers
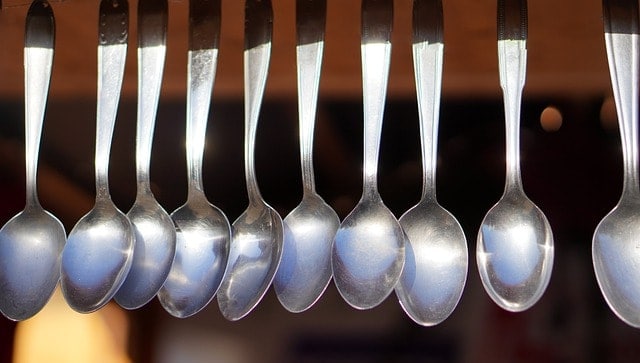
Lay the towel down on the driveway or sidewalk to protect them from paint. Then, lay your old metal spoons rounded side up on the towel.
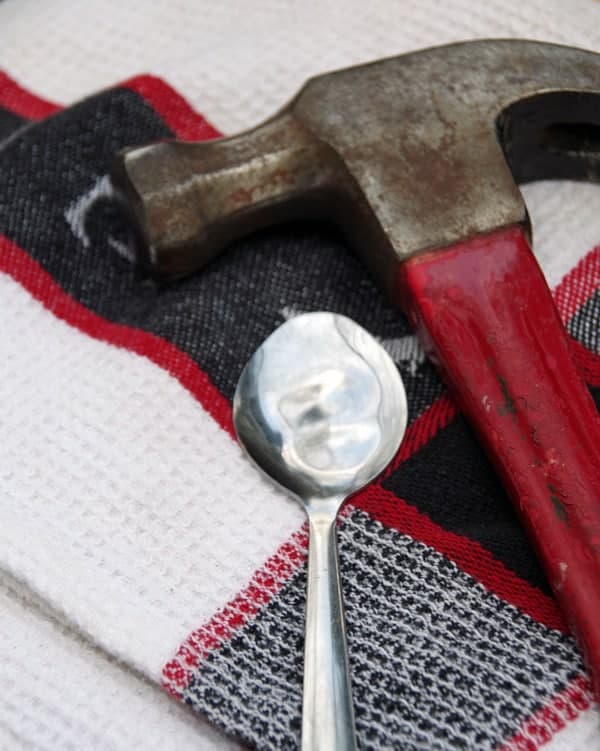
Next, you need to flatten the rounded part of the spoon. Fold part of the towel over the spoon and pound the spoon with the hammer until flat. You may have to flip it over a few times to get it completely flat. Be patient!
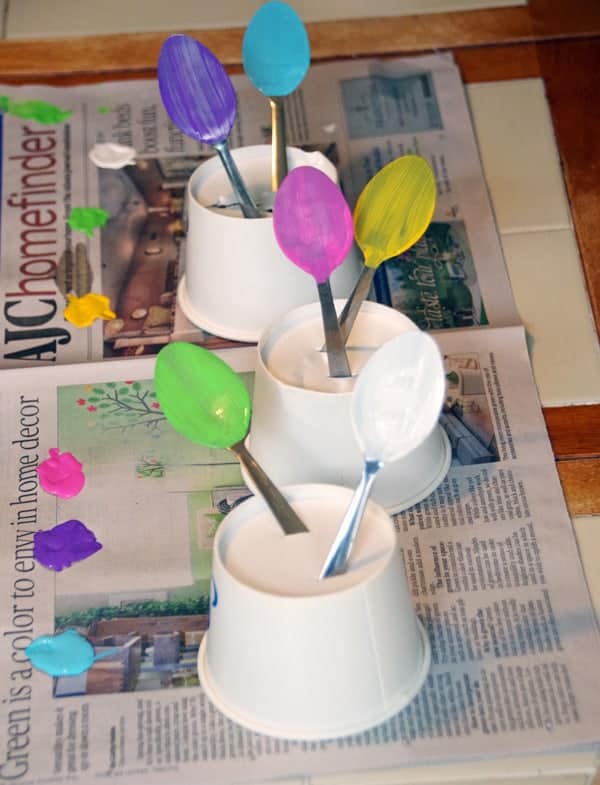
Next, you need to start painting . Lay the spoons on the newspaper and paint each one the desired color. You will probably need 2 to 3 coats. Let it dry between coats by laying it on a paper cup or poking the spoon into the cup as shown below.
It’s time to add plant names to your garden labels. Use the black paint pen or permanent marker to write the name of each plant on your spoon. Use the Qtips or paint pens to make paint polka dots on the spoons. I found that the paint pens made a much cleaner ‘dot’ than Qtips
In order to make weatherproof plant markers, you need to protect the paint. Apply a coat of Modpodge as directed on container. Let the DIY garden markers set 24 hours before placing them in the garden.
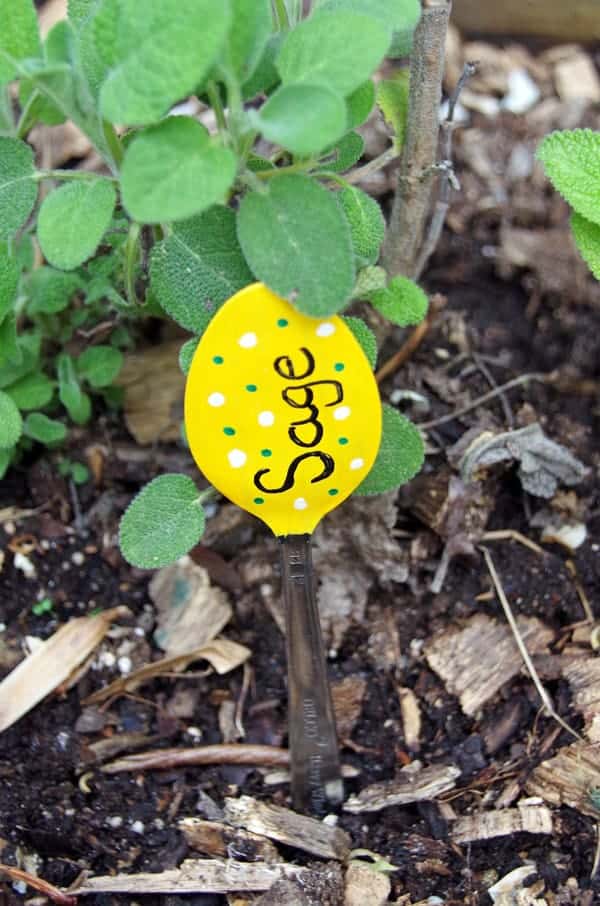
Easy DIY Garden Markers Spoons
Be a sustainable gardener by using recycled materials like old spoons as plant markers! These upcycled spoon plant markers are painted and then sealed with Mod Podge, making them perfect for your container garden or your backyard vegetable garden.
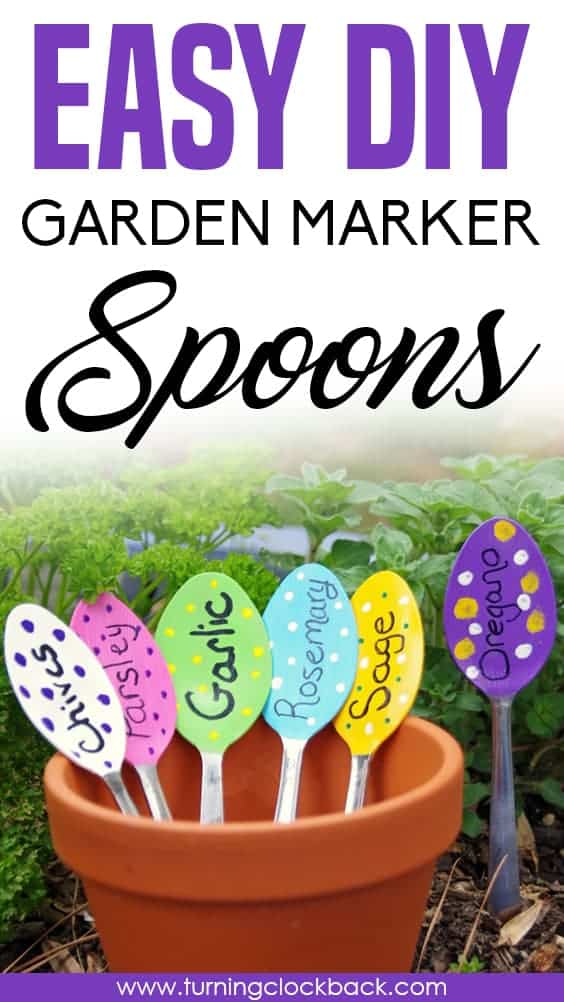
Easy DIY Garden Markers Spoons
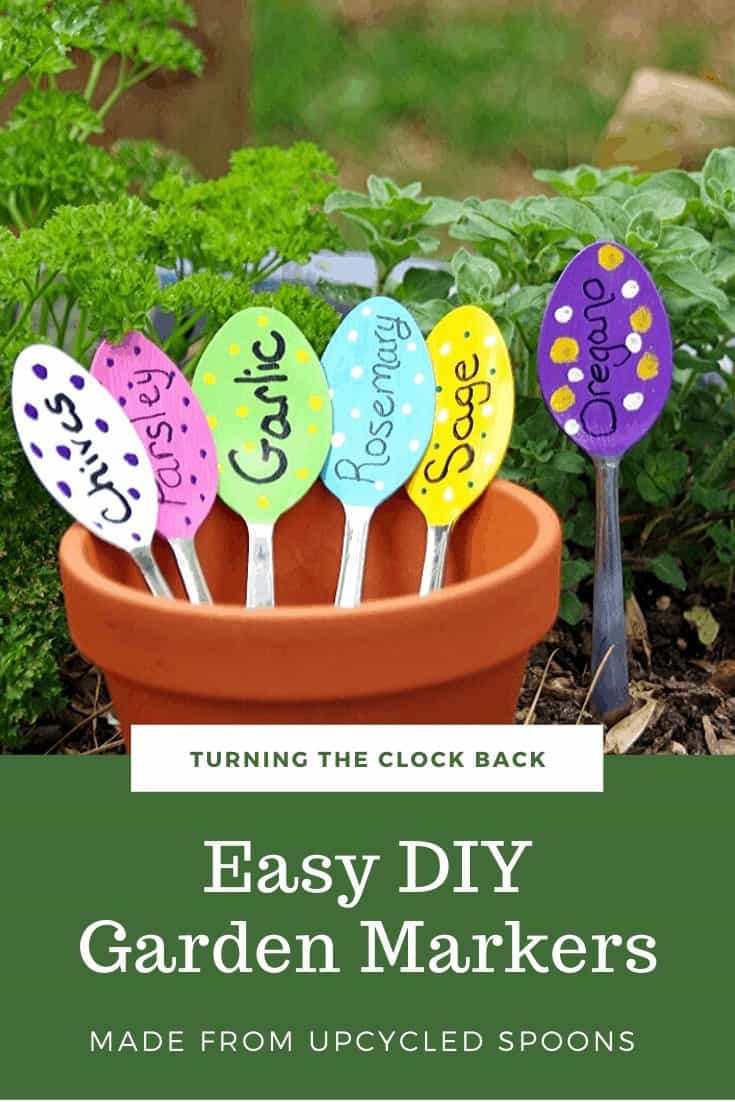
These Easy DIY Garden Markers Spoons are painted and then sealed, making them perfect for your garden. Upcycled spoon plant markers are a frugal garden craft.
Materials
- metal spoons
- indoor/outdoor craft paint
- black paint marker or broad tipped permanent marker
- outdoor ModPodge
Tools
- hammer
- old towel
- paint brushes
- newspaper
- Qtips or multi colored paint pens
- paper cups to use as spoon holders while paint dries
Instructions
- Lay the towel down on the driveway or sidewalk to protect them from paint. Then, lay your old metal spoons rounded side up on the towel.
- Fold the towel over the spoon to protect the meta. Hammer the spoon head flat. You will have to turn the spoon over a few times to get it completely flat.
- Once the spoon is flat, lay it on the newspaper and paint with outdoor craft pain. Let dry. You might need more than one coat. I used paper cups to stand the spoon upright to dry more easily.
- Once the paint is dry, brush it with a coat of Mod Podge and let dry again.
- Use a market or paint pen to make designs and write the name of the plant on the now weatherproof garden marker.
- Once it is dry, place it in the garden near the plant you want to label.

Diane is a professional blogger and nationally certified pharmacy technician at Good Pill Pharmacy. She earned her BS in Microbiology at the University of New Hampshire and has worked in cancer research, academics, and biotechnology. Concern over the growing incidence of human disease and the birth of her children led her to begin living a more natural life. She quickly realized that the information she was learning along the way could be beneficial to many others and started blogging and freelance writing to share this knowledge with others. Learn more about her HERE.

How cute are these!? Pinning so that I can make some of these later this year.
These are so cute! I will have to pin them for later.
Great post, I had made some using metal stamps to stamp the words on but I find the letters are a bit small, this is a great way to combat that.
Thanks again, Joy
I saw projects like this with metal stamps but was too lazy and cheap to go buy them 🙂 Glad these inspired you!
Love this! It seems like the plastic labels that come with my plants always break. Do you bring them inside in the winter?
I have left them outside and they seem to be weathering just fine!
These are so cute! I will definitely try this. Thanks for sharing.
glad you were inspired!
i like them they are so cute !will definitely make mine later this year.Thank you very much.