Why should you learn how to make your own bean sprouts? Because sprouting your own beans can be a fun and easy way to eat healthier and reduce your carbon footprint! Limiting the consumption of animal-based foods is a great start to sustainable, healthy eating. You can use this bean sprouting method for most dried beans as well as several varieties of seeds.
Posts feature partner companies & may be sponsored. Post contains affiliate links & I will be compensated if you make a purchase after clicking on links. As an Amazon Associate I earn from qualifying purchases.
There are many vegetarian sources of protein that we can incorporate into our daily diet. One source of protein that is very common in vegetarian cooking is beans. However, bean sprouts are an even more nutrient-dense form of protein and it is incredibly easy to sprout your own beans at home. Here are a few simple directions to get you started on growing your own bean sprouts!
✯Don’t want to miss the next post?✯
Follow Turning the Clock Back on Facebook | Twitter | Pinterest
Or join the private Facebook group for simple tips on going green!
Table of Contents
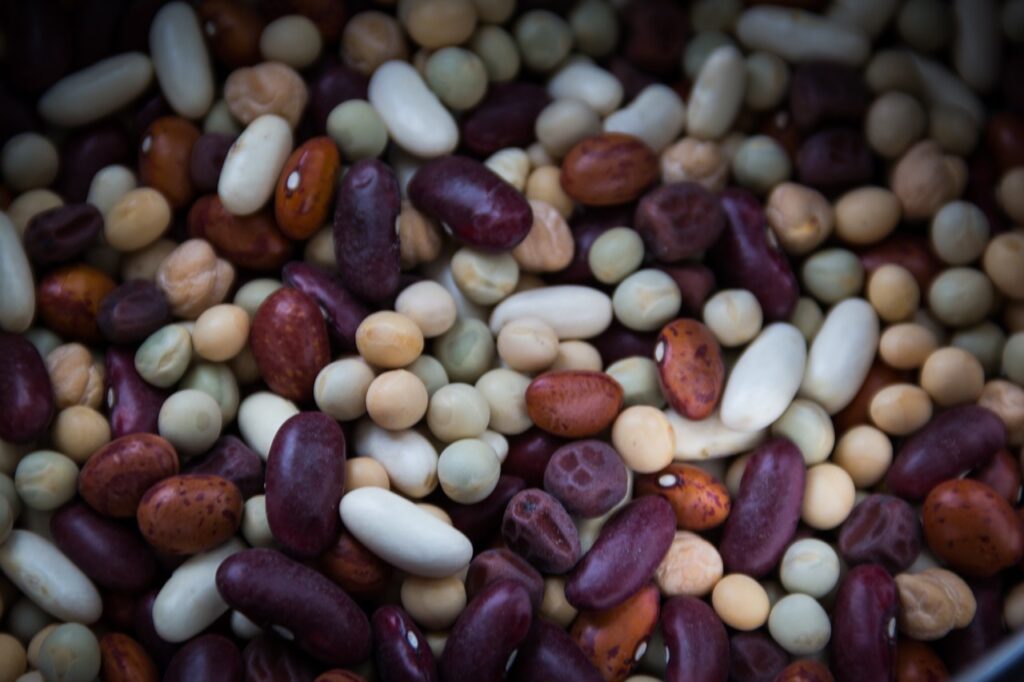
Choose small beans or seeds to sprout
Larger beans have a greater tendency to go bad before they sprout. Mung beans are the most commonly used bean for sprouting although alfalfa seeds, lentils, and many other beans and seeds will also work. You can find these in health food stores, and grocery stores or even purchase them online.
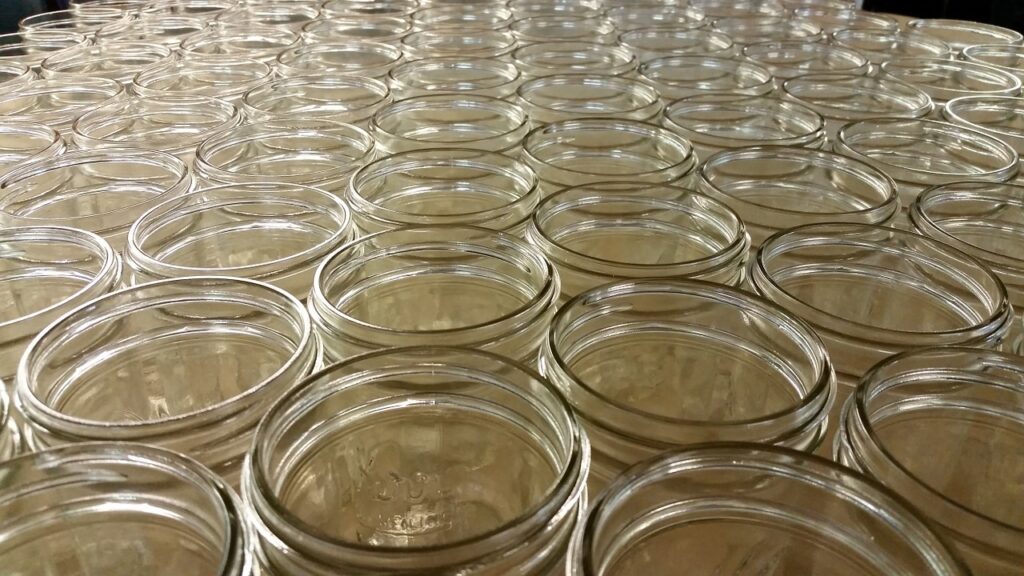
Clean a glass jar in hot, soapy water
You can use a mason jar with holes poked in the lid or any other type of jar that you have covered with cheesecloth held in place with an elastic band. Of course, you can buy special seed sprouting systems, but they are expensive and rather unnecessary. One alternative is to buy mason jar strainer lids. They will make draining the water fast and easy.
Wash your beans before sprouting
You want to start with clean beans! Wash your seeds or beans by putting them in a fine mesh colander and running cold water over them.
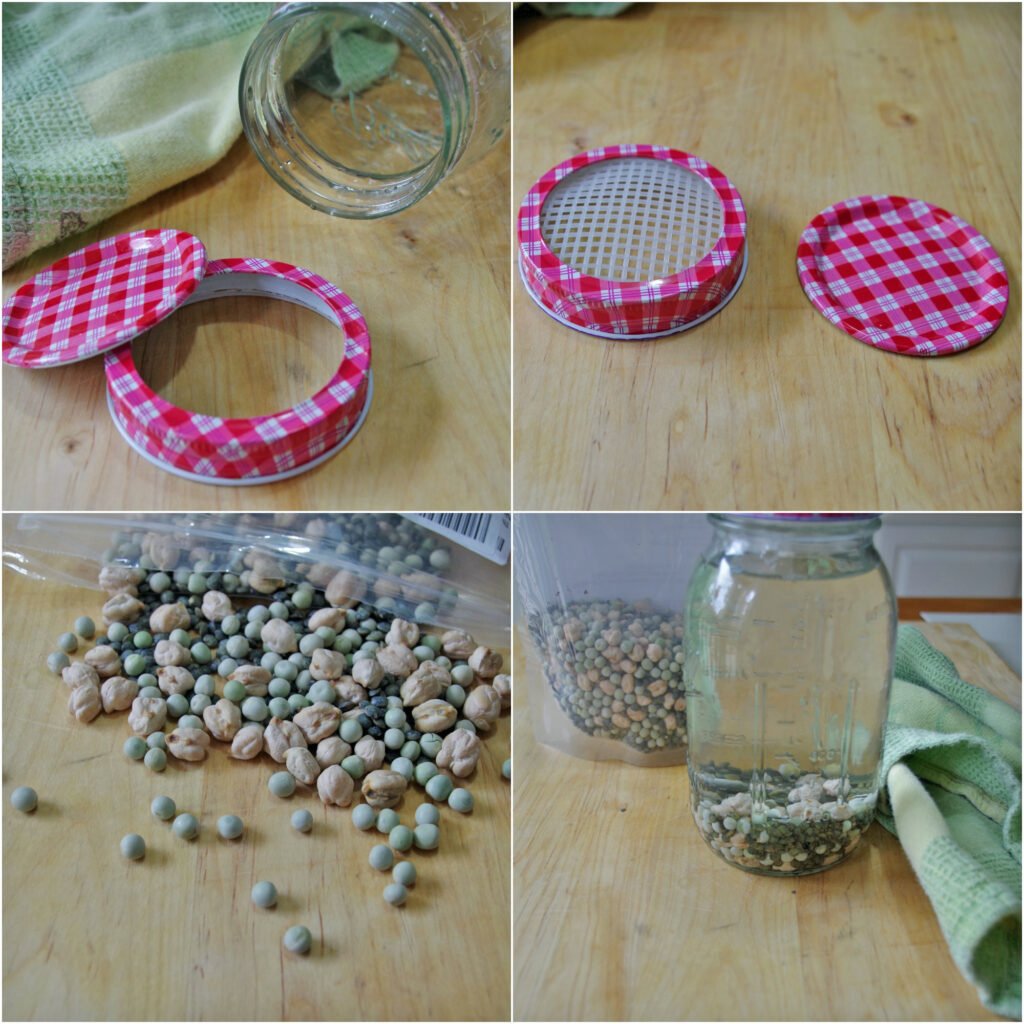
Add beans to your clean jar
Fill the jar about 1/5 of the way full with the rinsed beans. Do not use more than this or they will stay too wet during the sprouting process and get moldy.
Add the water
Fill the jar the rest of the way full with water and cover it with cheesecloth, mesh, or a lid with holes.
Find just the right spot!
The beans will need some time to soak in order to get them ready for sprouting. Set the jar out of direct sunlight and let sit for 8 to 10 hours.
You don’t want them in the dark, however, don’t put them on the windowsill either.
Drain off the soaking liquid
Drain the soaking water from the beans. Rinse them with cool water and drain them again. You are now ready to start sprouting!

Be patient!
The next step will take a few days and will need a bit of tender loving care from you. Set the jar in a warm, dark place and rinse twice a day with fresh water. This will help keep them damp and prevent mold growth.
Keep your eye on the sprouts
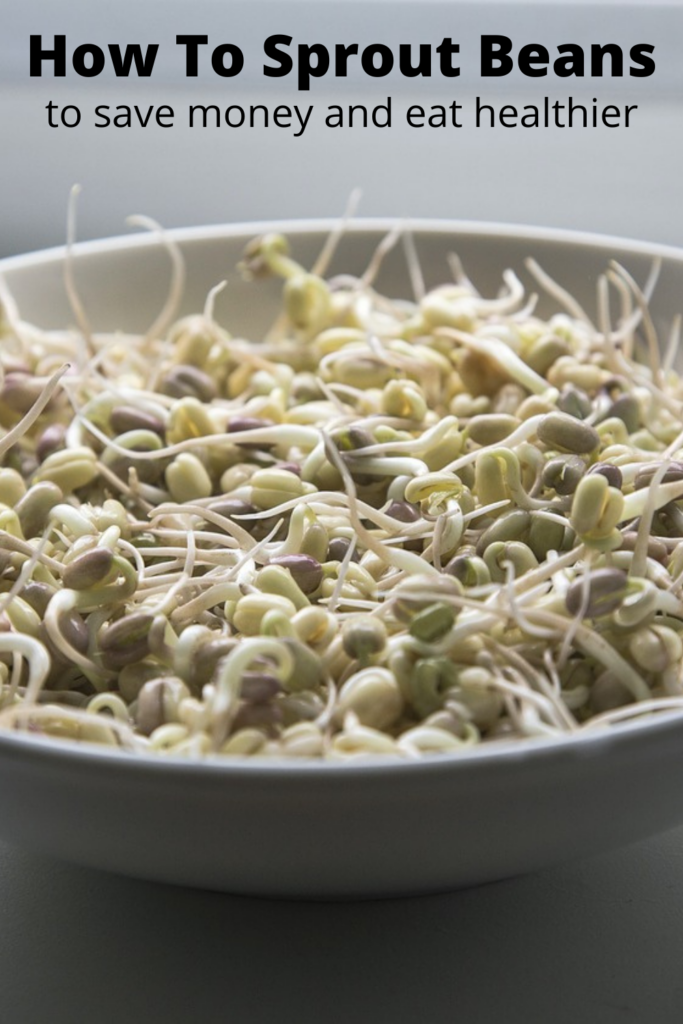
Sprouting should begin at about day 3 and they should be ready to eat by day 6. This timeline will vary slightly depending on the types of beans or seeds you choose to use.
Remove the sprouts when they are approximately three inches long. Rinse, drain, and spread the sprouts out on a clean paper towel overnight to allow excess moisture to evaporate.
Eat and enjoy!
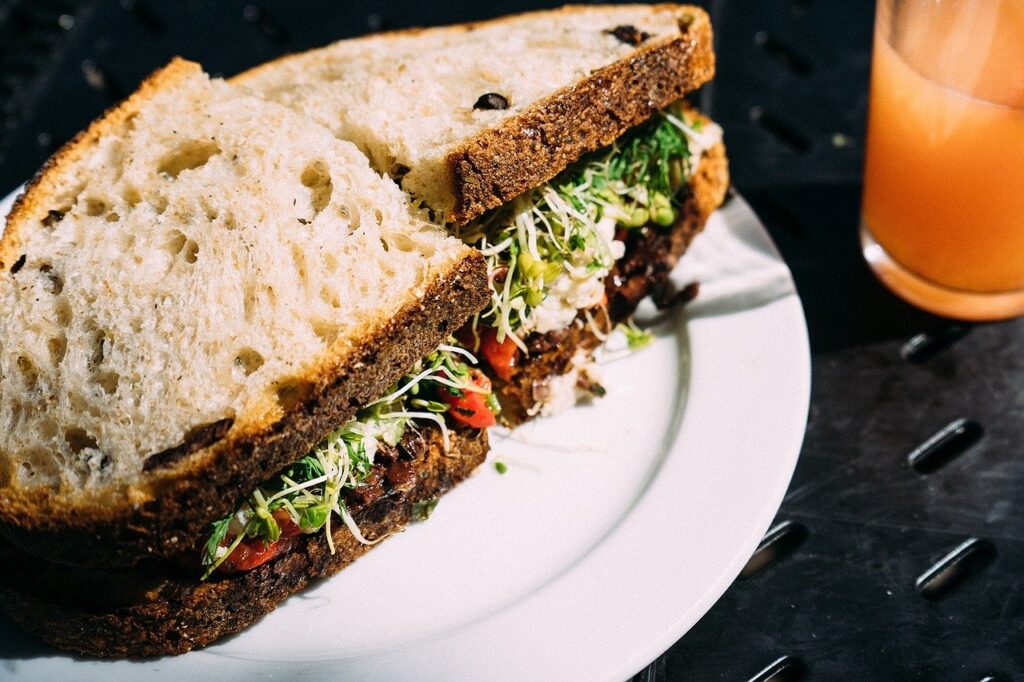
Use these sprouts in any recipe calling for bean sprouts or just throw some on your salad or sandwich for a bit of extra nutrition and crunch!
Making your own bean sprouts is a great way to save money at the grocery store. Since sprouts go bad so quickly, it may also help you reduce food waste as well. So, go green, get healthy, and sprout your own beans! The planet and your waistline will thank you for it!

Diane is a professional blogger and nationally certified pharmacy technician at Good Pill Pharmacy. She earned her BS in Microbiology at the University of New Hampshire and has worked in cancer research, academics, and biotechnology. Concern over the growing incidence of human disease and the birth of her children led her to begin living a more natural life. She quickly realized that the information she was learning along the way could be beneficial to many others and started blogging and freelance writing to share this knowledge with others. Learn more about her HERE.