I was recently digging around in what I call my ‘bag of ribbon’ when I realized that I needed to find a DIY ribbon organizer to make my art closet a tad bit neater. Since I had no desire to spend a lot of money on organizing ribbon, I hit Pinterest to see what inspired me.
I came across several creative people who had taken household objects and upcycled them into a ribbon dispenser that is perfect for Christmas ribbon or any type of thin ribbon that you find in craft stores.
There are power tools involved in turning a tin can into a ribbon organizer but if *I* can do it, trust me…you can, too! I am not the handiest of people when it comes to power tools, but no injuries were sustained in the process!
Let me know if you try making this and tell me how it goes! If you like crafts with power tools, check out my post about how to cut a wine bottle in half. There are LOTS of ways to reuse wine bottles!
Posts feature partner companies & may be sponsored. Post contains affiliate links & I will be compensated if you make a purchase after clicking on links. As an Amazon Associate I earn from qualifying purchases.
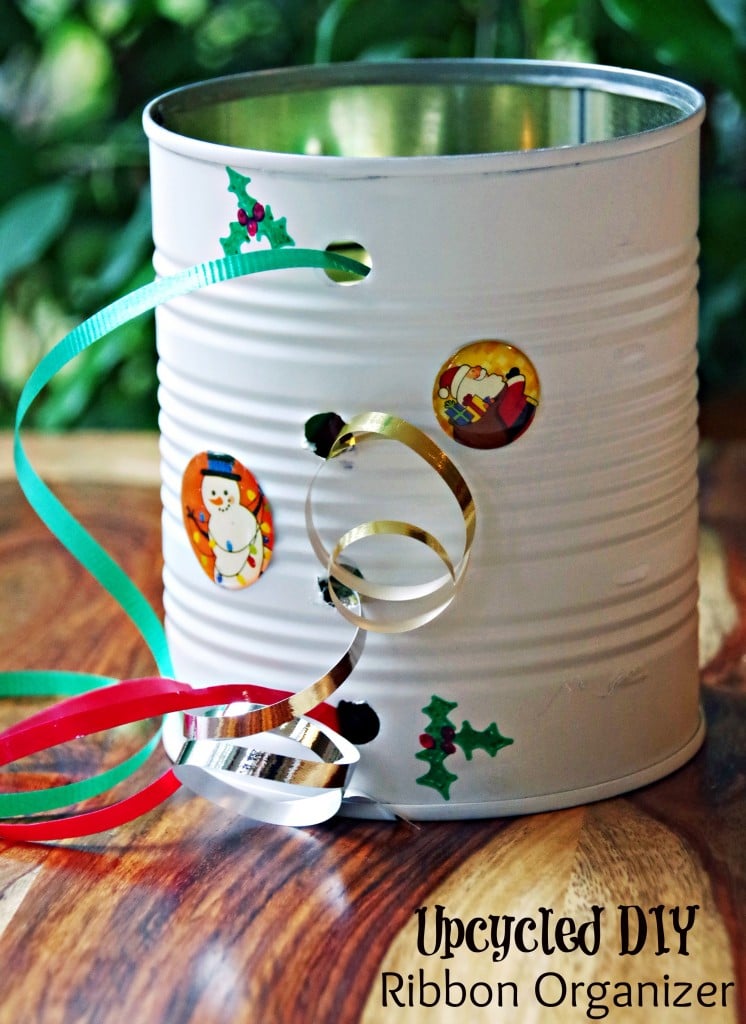
Table of Contents
Upcycled DIY Ribbon Organizer
This upcycled DIY ribbon organizer will make your Christmas Wrapping Station OH so much more organized!
Supplies:
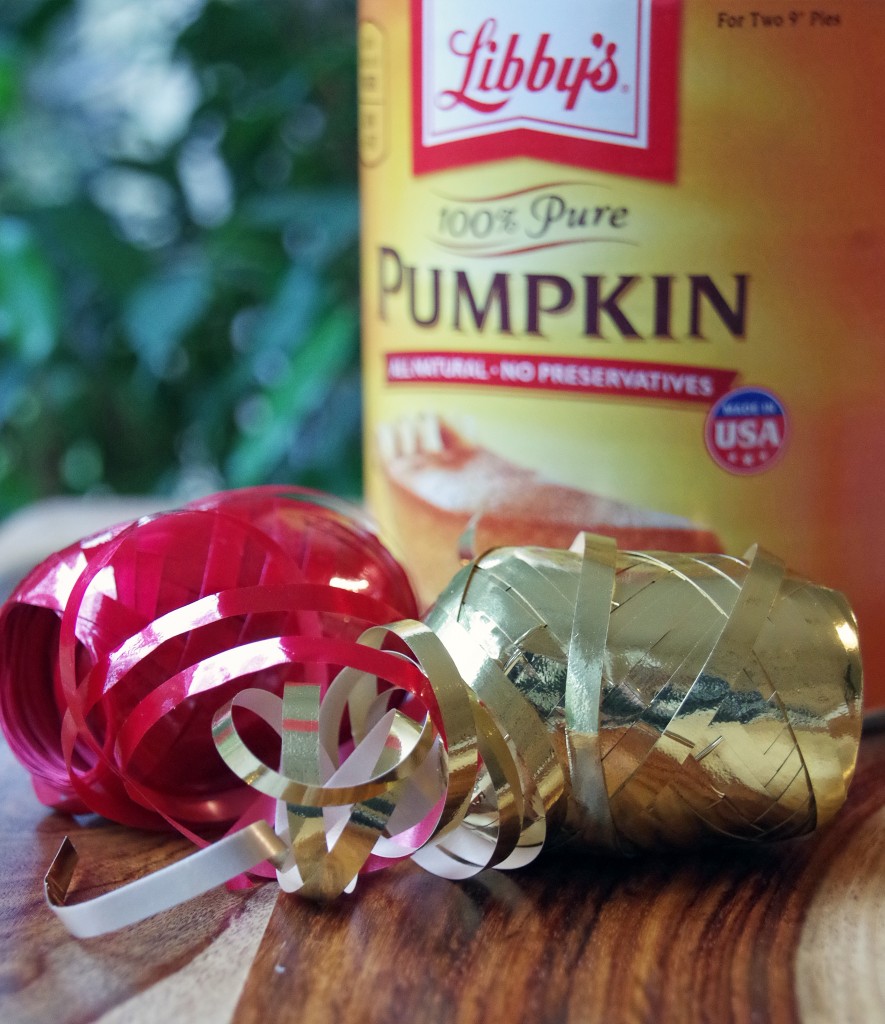
- 1 tin can, washed and label removed (Larger cans work better…more room inside for ribbon! If you have smaller ones, check out my post on tin can upcycling for ways to use them)
- permanent markers
- power drill with drill bits for drilling metal can
- metal file to file the holes smooth
- white spray paint
- decorations for the outside of the can if desired
✯Don’t want to miss the next post?✯
Follow Turning the Clock Back on Facebook | Twitter | Pinterest
Or join the private Facebook group for simple tips on going green!
Instructions:
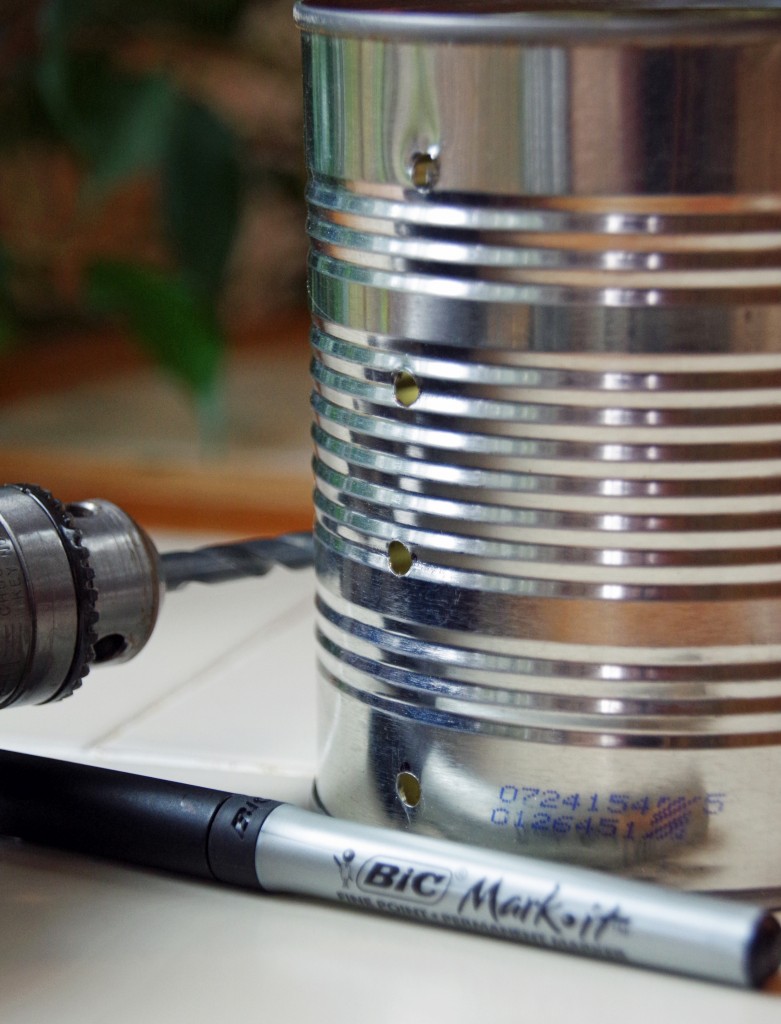
Using a permanent marker, draw small dots where you want to drill the holes for the ribbon. I decided to go with 4 holes on each side of the can, one side smaller than the other to accommodate different ribbons.
Using a power drill, carefully drill out the holes on the can. Make sure you hold the can securely so it doesn’t roll around and watch what you are doing to avoid injury!
After the holes are drilled, the edges will be slightly rough. Use a metal file to file them smoothly.
How to Make This Ribbon Dispenser
Spray paint the can whatever color you choose. I went with white since that is what I had in the art closet but feel free to get creative!
Decorate your can depending on your personal preferences. If your DIY ribbon organizer is holding Christmas ribbon, draw on some holly leaves. If your ribbon organizer is for birthday ribbon, use flowers, smiley faces, or whatever inspires you!
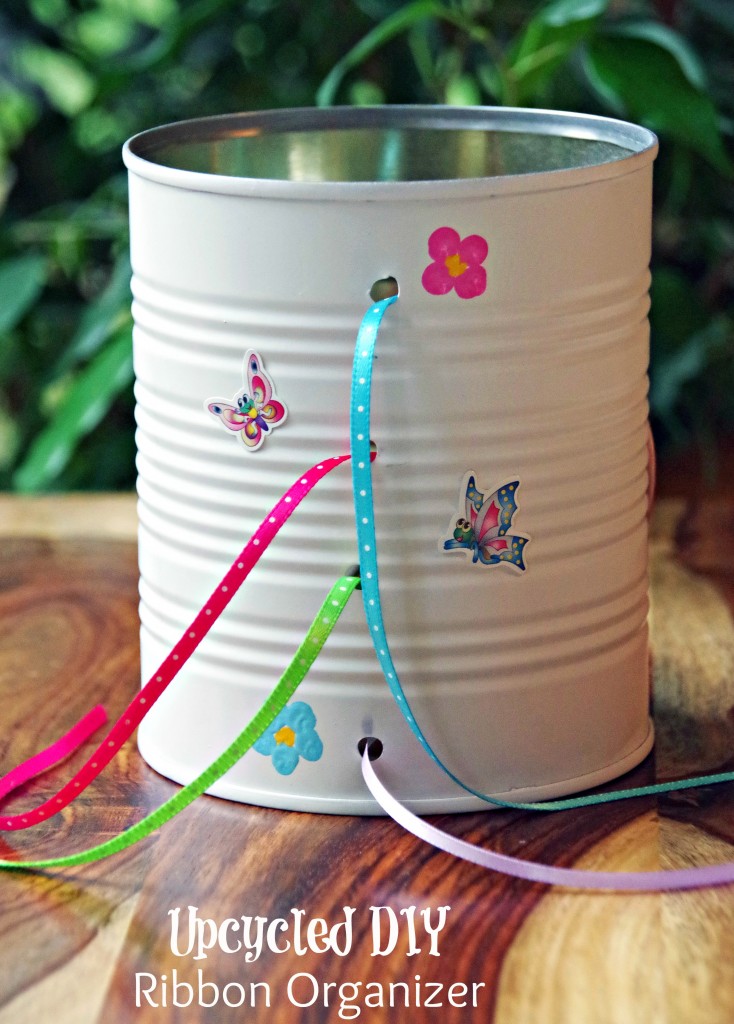
Tuck your ribbon inside the can and thread each one through the hole on the side. You now have an easy homemade ribbon organizer that costs only pennies to make! If you aren’t the crafty sort, check out ribbon organizers on Amazon instead!
More Ribbon Organizing Ideas
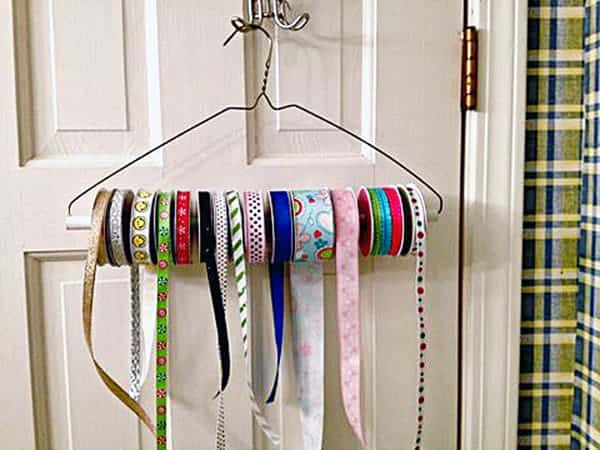
Don’t want to try power tools, check out this easy DIY ribbon organizer that uses only a metal hanger. Now that you know how to organize ribbon, get started cleaning up your own arts and crafts supplies! Then, personalize your gift-giving with this easy DIY gift box!
Upcycled DIY Ribbon Organizer
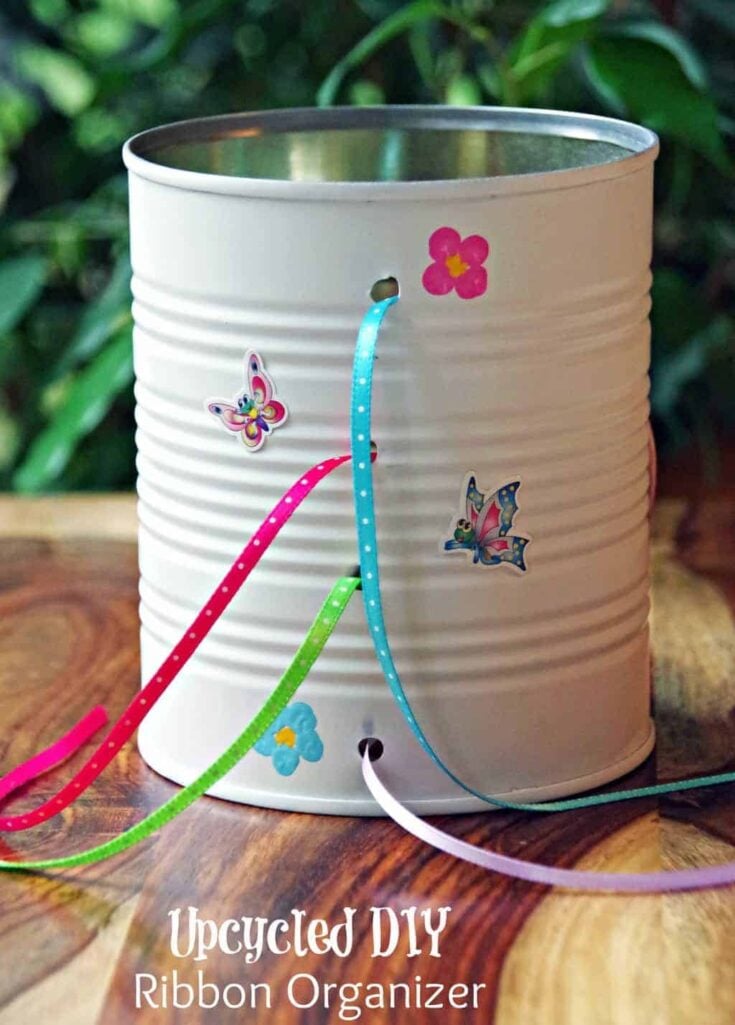
Have thin ribbon that needs organizing? Make this upcycled ribbon dispenser for only pennies.
Materials
- 1 tin can, washed and label removed
- Permanent markers
- White spray paint
- Decorations for the outside of the can if desired
Tools
- Power drill with drill bits for drilling metal can
- Metal file to file the holes smooth
Instructions
- Wash and remove label from tin can
- File any rough edges with a metal file
- Drill holes in the tin can that will allow ribbon to be threaded through them
- Spray paint the can white. Let dry. Repeat a second coat if needed.
- Decorate the outside of the can with stickers or permanent markers
- Thread with ribbon and enjoy!

Diane is a professional blogger and nationally certified pharmacy technician at Good Pill Pharmacy. She earned her BS in Microbiology at the University of New Hampshire and has worked in cancer research, academics, and biotechnology. Concern over the growing incidence of human disease and the birth of her children led her to begin living a more natural life. She quickly realized that the information she was learning along the way could be beneficial to many others and started blogging and freelance writing to share this knowledge with others. Learn more about her HERE.
this is such a clever idea! I have quite a few ribbons that are all tangled and a mess, but with this I could have some organization.
We so need to make this. My wife always buys ribbon on sale after the holidays and we have so many. Need this to keep them from being all tangled up!
This is genius for the holiday season. We need a way to organize it without them getting tangled for sure.