Weeds are a nuisance and can quickly take over a garden or lawn. And weeding the yard or garden is seriously back-breaking work. Using cardboard for weed control is cheap, effective, and better for our planet than many modern weed control methods.
There are many methods for weed control, but some are more effective than others. If you want a natural way to kill weeds in landscaped areas, gardens, walkways, or under rocks, cardboard is a great choice.
Cardboard is an easy and affordable way to control weeds and it usually shows up at your house regularly in the way of Amazon packages. Unlike landscaping fabric which can get very expensive. Using cardboard is a great option if you’re looking for an organic solution rather than weed-killing chemicals. Because the fewer chemicals you dump on your yard, the healthier our planet will be!
So, to learn how to use cardboard for weed control correctly, here are a few tips. I will include the pros and cons of cardboard as a weed barrier, the ideal places you might want to use it, and a few key steps along the way for the best results.
Stop recycling cardboard boxes at the curb and use them to reduce the amount of weeding you need to do on the weekend!
Posts feature partner companies & may be sponsored. Post contains affiliate links & I will be compensated if you make a purchase after clicking on links. As an Amazon Associate I earn from qualifying purchases.

Table of Contents
Pros and Cons of Using Cardboard
A cardboard weed barrier has a few positives and negatives compared to plastic landscape fabric that you should consider before you get started.
Pros
- It’s a natural way to control weeds, allowing you to skip the harmful chemicals.
- Cardboard is cheap and easy to find. You can dumpster dive at your local grocery store and find plenty.
- It blocks out sunlight, which prevents weed seeds from germinating.
- Cardboard is a biodegradable material. It decomposes over time, adding nutrients to the soil, which will benefit soil life in the long term.
- It can be used to cover large areas or just a small vegetable garden.
- Water can penetrate it so it does not kill surrounding plants.
- Cardboard is a great way to attract worms which then help aerate your soil.
- It is very lightweight and collapsible, making it easier to store and carry.
Cons:
- It doesn’t last as long as some other options
- Cardboard can be difficult to lay down in windy conditions.
- You need to have a lot of cardboard on hand to cover a large area.
- Cardboard must be prepared before use. Be sure to remove all packing tape, labels, staples, etc before getting started.
- It does degrade rather quickly, meaning you will need to repeat the process every few years.
- Persistent critters can dig right through it, leaving holes for weeds to pop up through.
- Mulch will occasionally slide off parts of it, leaving the cardboard visible and that is not particularly attractive. This can happen during heavy rains or strong winds.
While there are both benefits and drawbacks to using cardboard weed control methods, I find that it is the perfect natural solution to weeds in our landscaped areas.

✯Don’t want to miss the next post?✯
Follow Turning the Clock Back on Facebook | Twitter | Pinterest
Or join the private Facebook group for simple tips on going green!
Under Mulch or Under Rocks?
Since cardboard is rather unattractive and blows away in a stiff breeze, you need to cover it with something when using it for weed control. Here are my thoughts on using cardboard under mulch vs using it under rocks.
Using cardboard under mulch
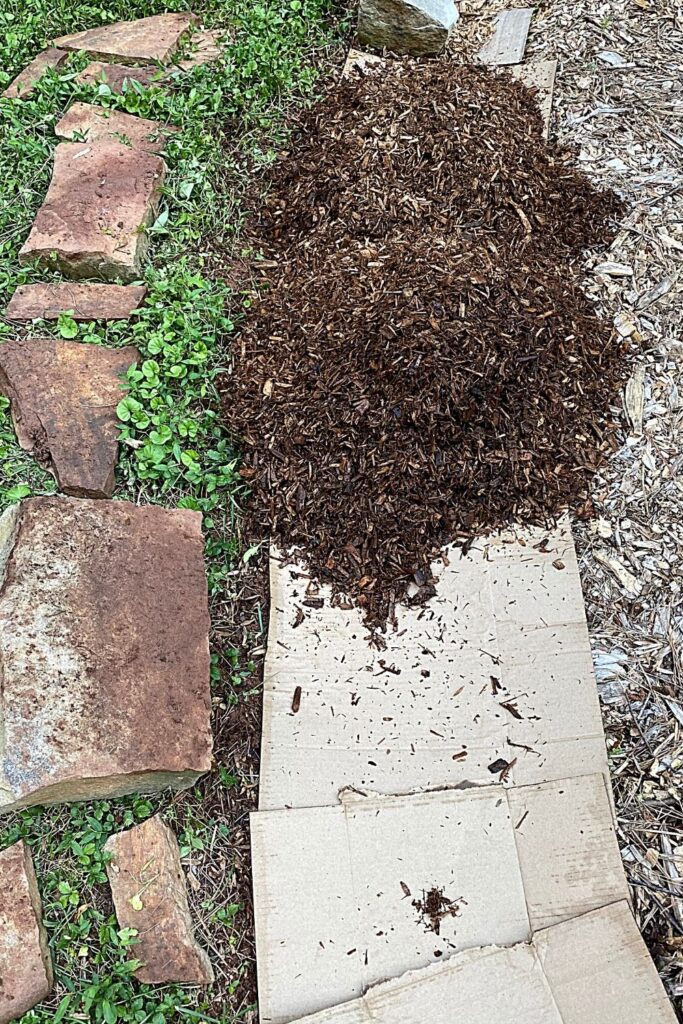
The best way to keep the cardboard in place is to cover it with a thick layer of mulch. I like using a deep layer of Cyprus mulch because it is cheap and easy to find. You can use any wood chips you have available. Try to make sure the mulch is at least 2 to 3 inches deep. This will help hold the cardboard in place and prevent it from blowing away.
How long does cardboard last as a weed barrier? I have found that using a single layer of cardboard and wood mulch together lasts about 2 to 3 years before needing to be replaced.
If you don’t want to repeat this process every few years, put down several layers at once. Lay cardboard, then wood mulch, then more cardboard, topped with several inches of more organic material. Or, add two layers of cardboard first, then top with several inches of wood mulch.
Basically, the more weed barriers you layer on, the fewer unwanted plants you will see poking through.
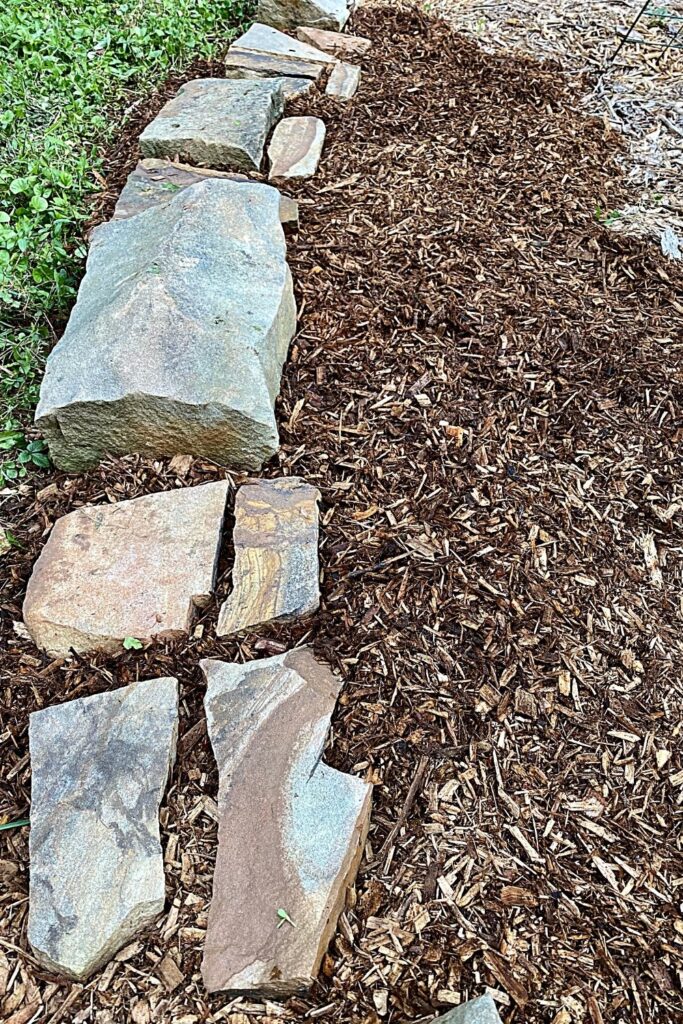
Using cardboard under rocks
When using cardboard for weed control, you can also cover it with rocks. This is a great way to make it more attractive and less likely to blow away. The downside is that it can be more expensive. Pea gravel and small stones are more expensive than mulch, at least around here.
One note about using cardboard under rocks: Since cardboard decomposes in a few years, it may not be a great solution for areas where only an inch or two of small stones will be placed. Moving tons of tiny rocks is a pain and if your cardboard degrades quickly, you will eventually get weeds.
If you are only putting down a couple of inches of stone, you might want to consider EcoPlanet Biodegradable landscaping fabric instead. This might be a good balance between longer lasting yet nonplastic weed barrier. For areas that will have 4 to 6 inches or more of stone, cardboard might be an ok weed barrier since not much light would penetrate to allow weeds to germinate.
Ideal Places to Use Cardboard for Weed Control
Now that you know some of the pros and cons, let’s look at a few ideal places you can use a cardboard weed barrier.
-
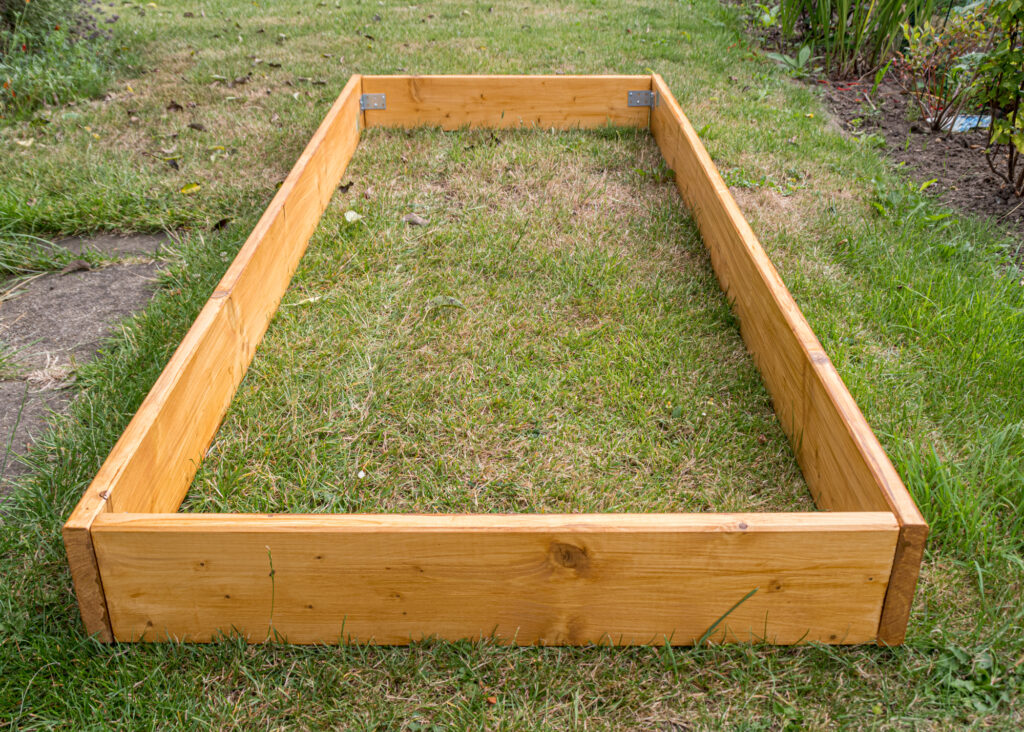
In Garden Beds
One of the best places to use a cardboard weed barrier is in garden beds. If you have newly planted flower beds or vegetable gardens, using cardboard will prevent weeds from coming up and competing for resources with your new plants.
To do this, simply lay the cardboard down on the soil, making sure to overlap the edges by a few inches. Then, cover the cardboard with mulch. I like using wood chips because they last longer than shredded paper and don’t have seeds like grass clippings. If you don’t have wood mulch, you can still lay cardboard down, then top with grass clippings, straw, or compost of some sort.
-
Around Trees and Shrubs
Cardboard can also be used to control weeds around trees and shrubs. This is a great option if you have newly planted trees or shrubs that you want to give a good start.
To use cardboard around trees and shrubs, lay the sheets of cardboard out in a circle around the plant. Then, cover the cardboard with wood mulch.
-
In Walkways
Using cardboard weed barriers is also helpful for walkways. If you have weeds popping up in your stone walkways, using cardboard will prevent them from coming up.
To do this, remove the stones to expose the bare soil. Pull out as many weeds as you can. Then, lay the cardboard down on the ground and then cover it with a few inches of pea gravel.
Since the cardboard will be closer to the surface and get more light, it probably won’t last several years and weed plants may eventually pop back through. If you want to lessen the chance of unwanted plants popping through, use two layers under the stones.

What you need
You will need a few supplies to get started on your weed control project but you probably already have them in the garage!
- Cardboard boxes: You can use any cardboard you have on hand. If you want to be really eco-friendly, ask local businesses if they have any boxes they are getting rid of.
- Mulch – As I mentioned before, you can use any type of mulch you want. Wood chips, shredded paper, straw, and bark mulch all work great.
- Rocks – If you are using cardboard under rocks, you will need rocks. The type of rock you use is up to you but I find that pea gravel or small stones work best.
- Utility knife – This will be used to break down the cardboard into smaller pieces. Scissors might work, however, I prefer the ease of use of a good utility knife.
- Hose: You need to wet the cardboard down before laying it on the ground
- Optional: Ground stakes and hammer if you live in a particularly windy area.
- Time and patience – It takes a little time to get the cardboard in place but it is worth it in the end!

Tips for Success
Weed suppression with cardboard is fairly simple, however, here are a few tips to get you started on your project.
Prepare the area before you start
The first step is to prepare the area you will be using the cardboard. If you are using it in a garden bed, remove any existing weeds. If you are using it around trees or shrubs, make sure the area is clear of debris.
Under a walkway, remove the stones and pull out any weeds.
Once the area is prepared, you can start to lay down the cardboard.
If you want to be really organized, you can measure the area you want to cover and measure your boxes but that is a whole lot of work for a very inexact project.
Prepare your cardboard box
Remove all tape, labels, staples, etc from your cardboard box. Avoid boxes that have a lot of colorful inks, especially if you are using them in an area where you are growing food.
Cut the cardboard into smaller pieces using a utility knife. You can either cut it into strips or into smaller squares. It really doesn’t matter what shape you cut it into as long as it will fit in the area you want to cover.
Wet the cardboard down
Once the cardboard is cut into smaller pieces, wet it down with a hose. You want the cardboard to be saturated but not dripping wet.
If you are using the cardboard in a garden bed, lay the pieces down on the ground and overlap the edges by a few inches. If you are using it around trees or shrubs, make sure to lay the pieces in a circle so that the tree or shrub is in the center.
For a walkway, lay the pieces of cardboard down on the ground and overlap the edges. Use two layers if desired.
Secure the cardboard if desired
If you live in an area with frequent strong winds or if you are using the cardboard in an area where it will be disturbed (kids playing, pets, etc), you can secure the cardboard to the ground using ground stakes and a hammer.
Drive the stake through the cardboard and into the ground every few feet.
Cover with mulch
The final step is to cover the cardboard with wood mulch. This will hold the cardboard in place and prevent it from blowing away.
Mulch has the added benefit of also suppressing unwanted plants and keeping the soil moist.
You can use any type of mulch you want but I find that wood chips, shredded paper, and straw work best. Grass clippings tend to have a lot of grass seeds in them which may just lead to more work down the road.
Lay about 3 inches or so of mulch over the cardboard.
Maintain and Repeat as needed
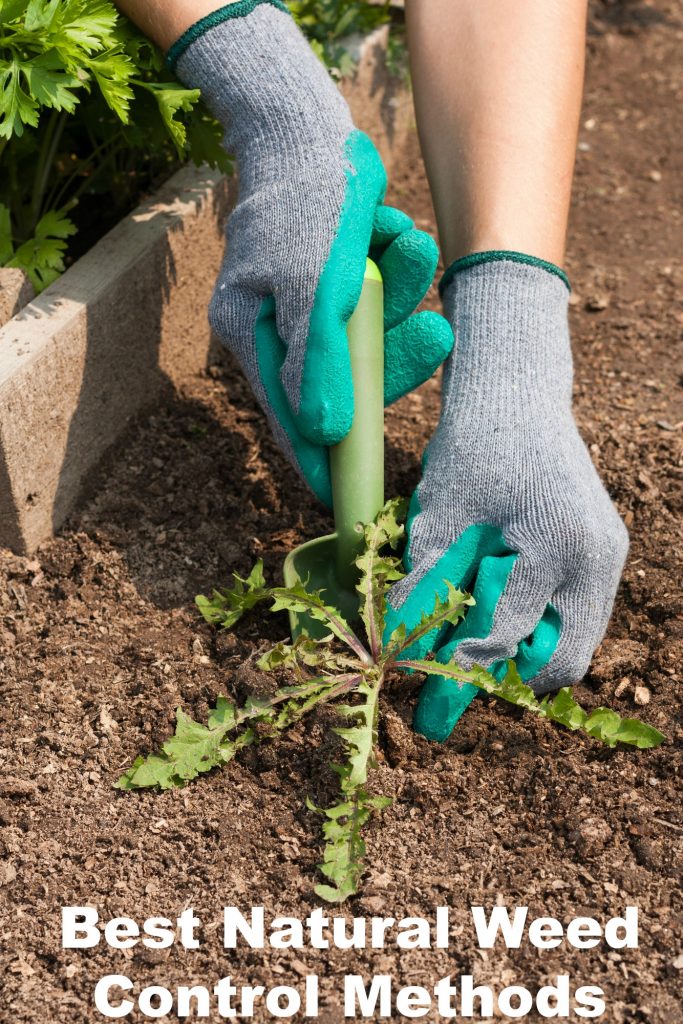
You may find a few stray weeds trying to sprout in your layer of garden mulch. Pluck those as soon as possible so they don’t propagate and further.
The cardboard will eventually break down and will need to be replaced. Just add another layer of cardboard and mulch right on top of the old stuff.
I like to lay down a new layer of cardboard every year or two just to be on the safe side.
Cardboard is an inexpensive and easy way to control weeds in your garden or landscaped areas so while repeating this every few years takes time and effort, it takes very little actual money.
Sheet Mulching A New Garden Bed
I primarily use cardboard in existing landscaped areas or my vegetable garden that is already established. However, many people like to sheet mulch an area of their lawn to create a brand new garden bed.
What is sheet mulch? Sheet mulching (sometimes called lasagna mulching) is the process of creating a brand new garden bed over an area of grass by layering on “sheets” of organic matter.
When you tackle sheet mulching, it will usually include many layers of several different types of organic matter.
List of layers to sheet mulch a new garden bed:
- Cardboard or newspaper
- A thick layer of leaves, straw, or grass clippings
- A thin layer of compost or manure
- A thick layer of mulch (straw, leaves, wood chips, etc)
The idea behind sheet mulching is to smother the grass underneath so that it can’t come up through the layers of organic matter.
This is a great method to use if you want to create an entire garden bed without using any herbicides or chemicals.
Step-by-step instructions for sheet mulching new garden beds:
- Mow the area of grass that you want to turn into a garden bed as short as possible.
- Water the area thoroughly.
- Add a layer of cardboard or newspaper.
- Layer on several inches of leaves, straw, or grass clippings.
- Layer on a thin layer of compost or manure over the entire garden area.
- Add a thick layer of mulch, straw, leaves, wood chips, etc.
- Water the garden area thoroughly again.
- Repeat as many times as needed to completely fill your raised bed
How long does it take sheet mulching to break down? This may take several months, depending on the type of grass and how thick it is.
Fall is an ideal time to sheet mulch new garden beds. Decomposition of organic matter will occur over the winter and the new garden bed will be ready for new plants the following spring.

A note on termites
I live in the South where termites are a serious concern. Since termites LOVE both mulch and cardboard, do not use this weed control method anywhere near your actual house. It’s fine for landscaped areas farther out in the yard, however, never put wood-based products up against your home.
Final Thoughts
Cardboard is an easy and inexpensive way to control weeds in your yard or garden. It’s also a great way to recycle old cardboard boxes that are taking up space in your garage. (In fact, this is one of my favorite frugal landscaping ideas!)
If you don’t have any cardboard boxes, head to your local store and dumpster dive a few. They are everywhere.
This method isn’t as easy as plastic landscape fabric. Nor is it as easy as spraying chemicals to kill weeds. However, plastic and chemicals destroy soil life in addition to weeds.
Layers of cardboard and organic matter encourage worms and provide the ideal conditions for soil microbes to thrive. And when you have worms and healthy soil, you have healthy plants, tons of beneficial insects, and much-needed pollinators. By killing weeds in the garden naturally, your new plants will thrive.
Skip the prepackaged weed and feed products from your local hardware store. After several years of no chemicals, you will find more fireflies and butterflies while still seeing fewer weeds.
Using cardboard as weed control means you can spend less time weeding and more time relaxing! And since it is pretty cheap, you will have more money in your pocket to spend on buying new garden plants!
More weed control tips
If you are looking for more articles on controlling weeds in your yard and garden, check out a few of these posts:
- Best Natural Weed Control Methods: Eco-friendly ways to control weeds as well as a new way to look at them that might take the stress out of your life.
- Learn more about superweeds and why we need to be very concerned.
- Check out my post on using a flame weeder for weed control.
If you love this post about using cardboard for weed control, share it with other gardeners. The more people we encourage to use natural weed control methods, the better off our planet is!

Diane is a professional blogger and nationally certified pharmacy technician at Good Pill Pharmacy. She earned her BS in Microbiology at the University of New Hampshire and has worked in cancer research, academics, and biotechnology. Concern over the growing incidence of human disease and the birth of her children led her to begin living a more natural life. She quickly realized that the information she was learning along the way could be beneficial to many others and started blogging and freelance writing to share this knowledge with others. Learn more about her HERE.