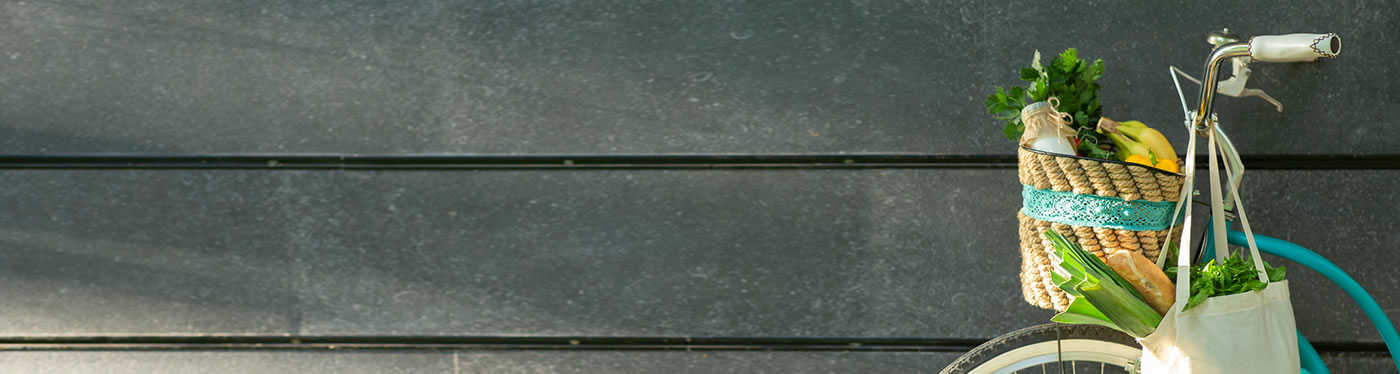
There’s no such thing as ‘Not Green Enough’
We believe that every step counts on the road to a greener life.
Our mission is to help you go green, get healthy, and simplify your life one baby step at a time


RECIPES

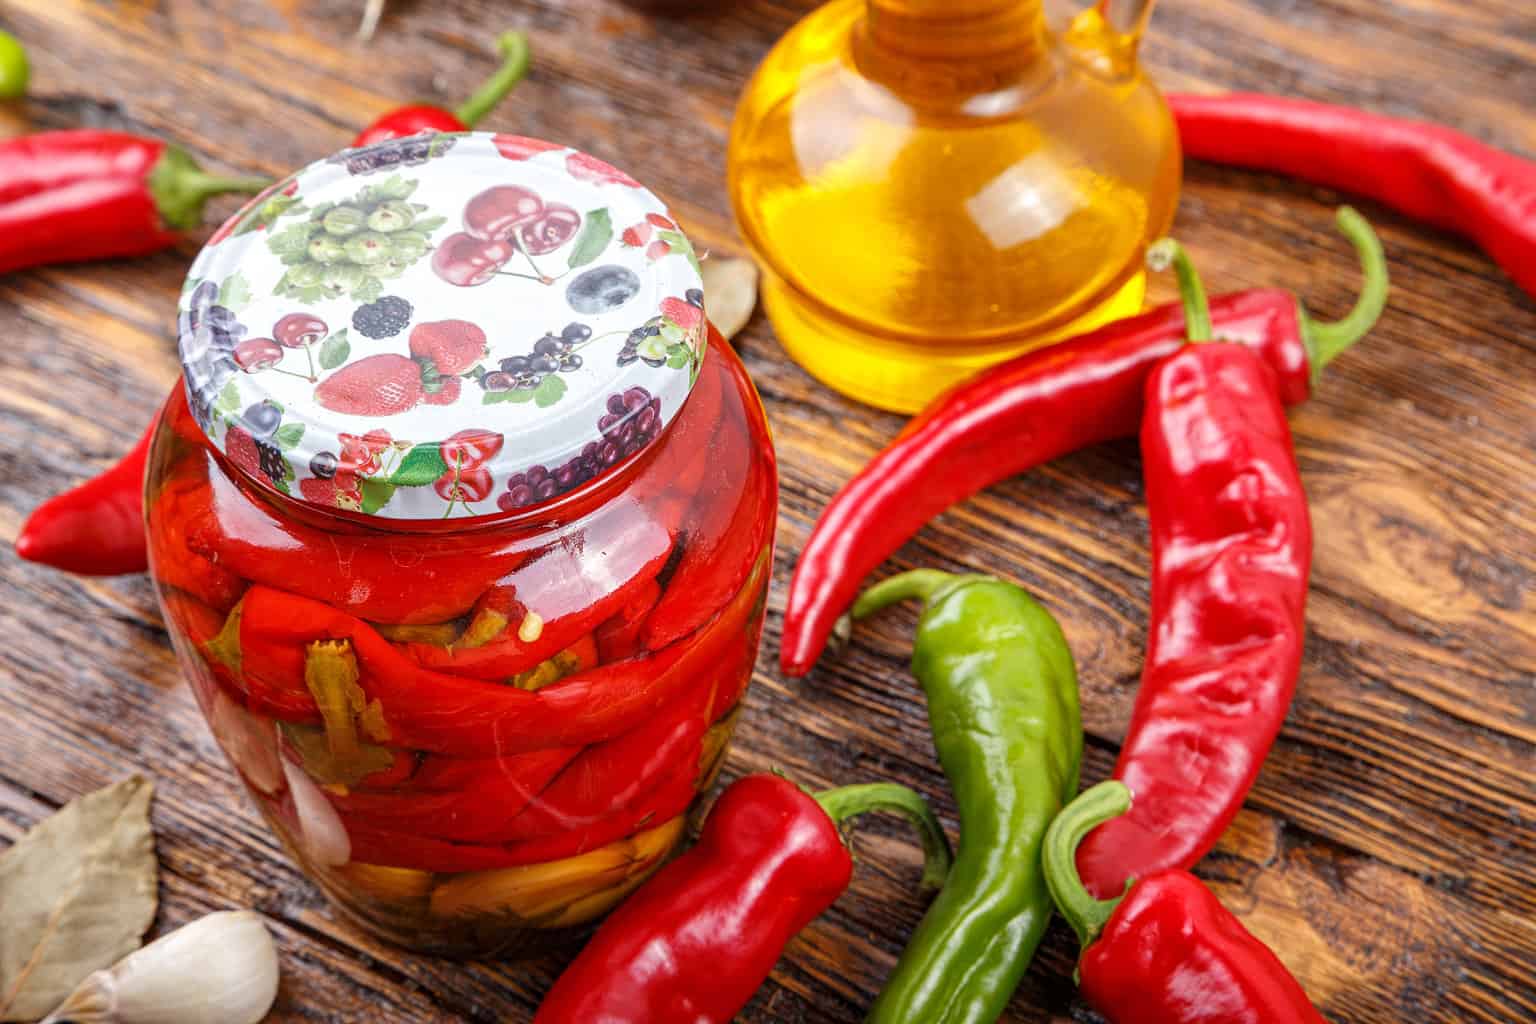
Easy Vegetarian Crockpot Chili Recipe
This easy vegetarian crockpot chili recipe will satisfy even the meat lovers in your family. Loaded with beans, corn,…
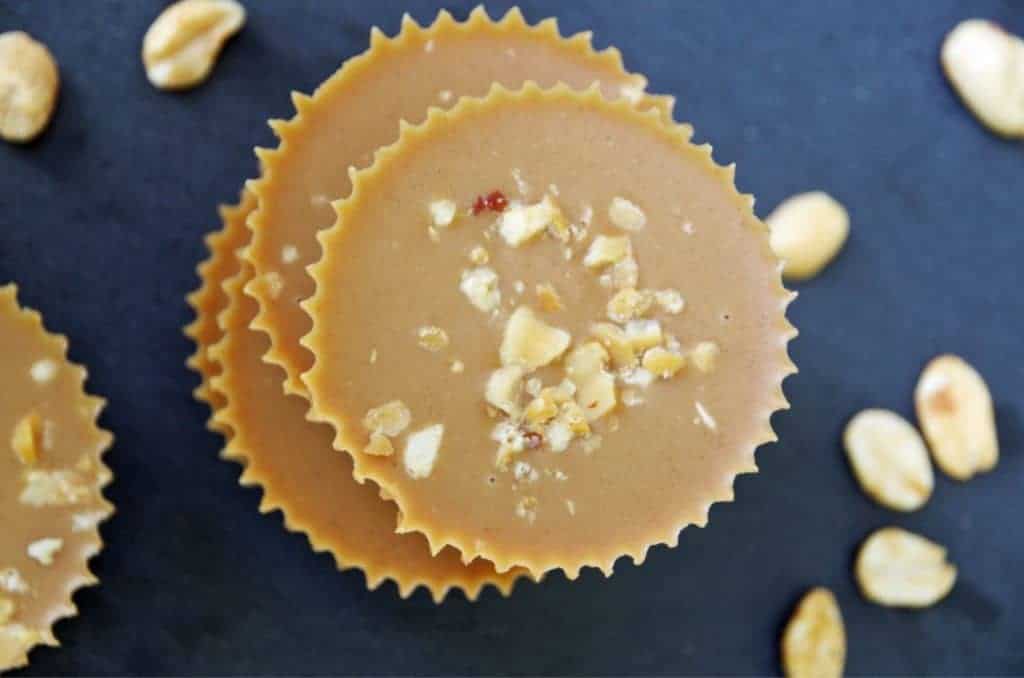
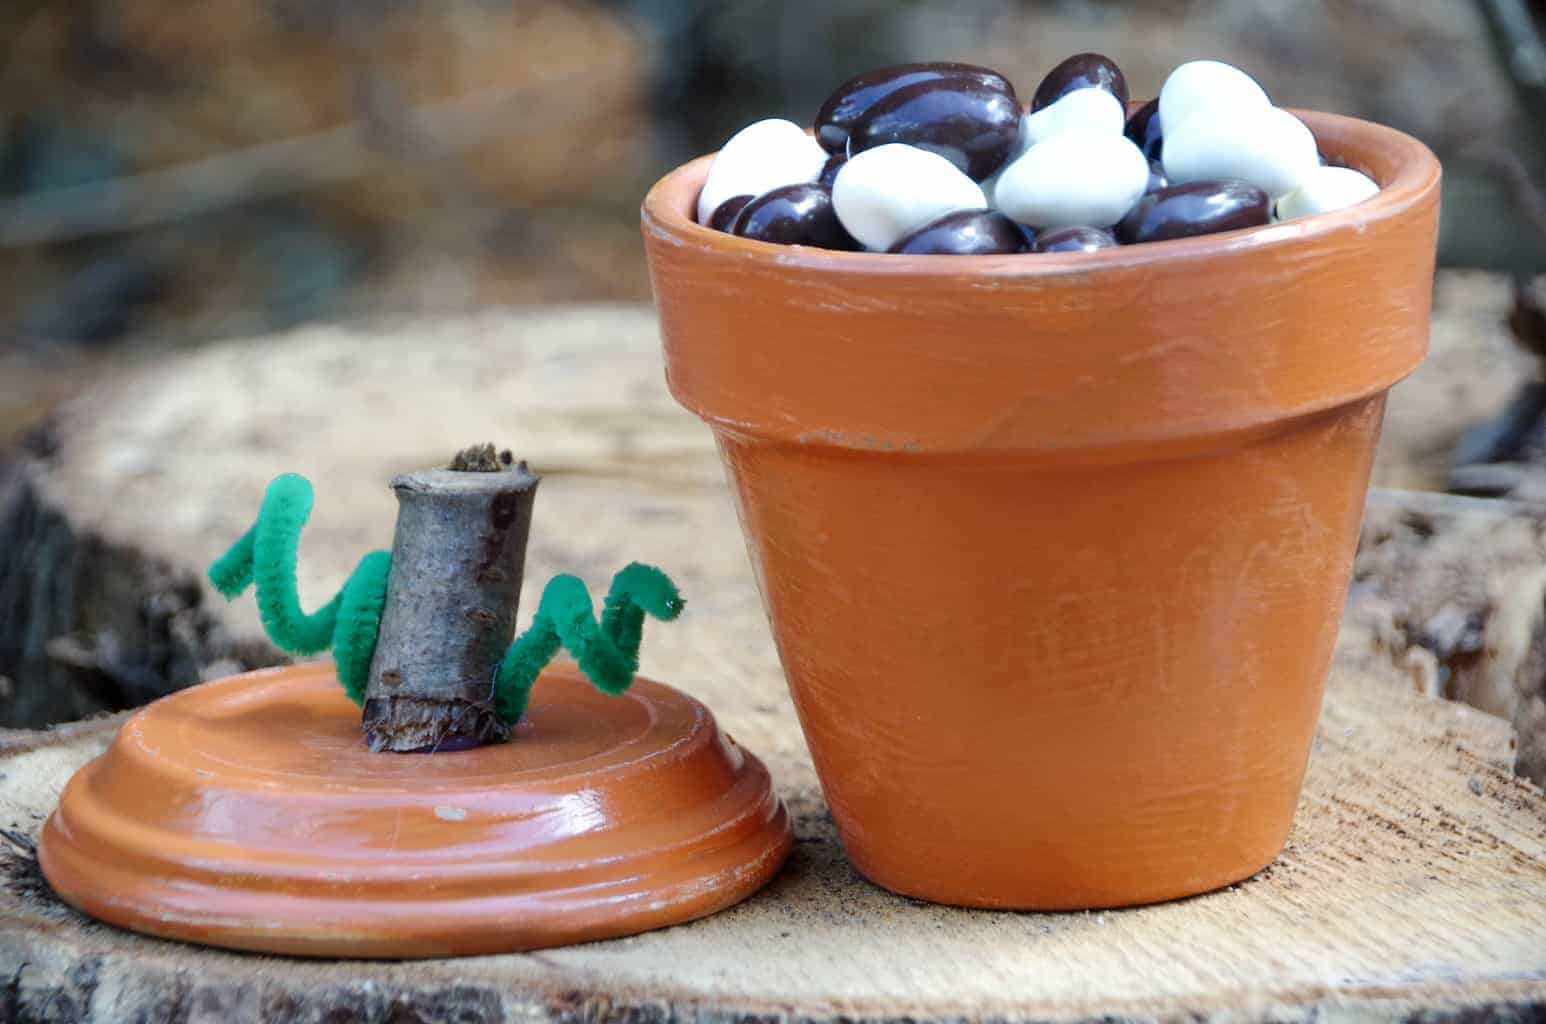
Healthy Homemade Peanut Butter Fudge Recipe
This homemade peanut butter fudge recipe has three healthy ingredients. It’s an easy fudge recipe with no guilt!

GREEN LIVING
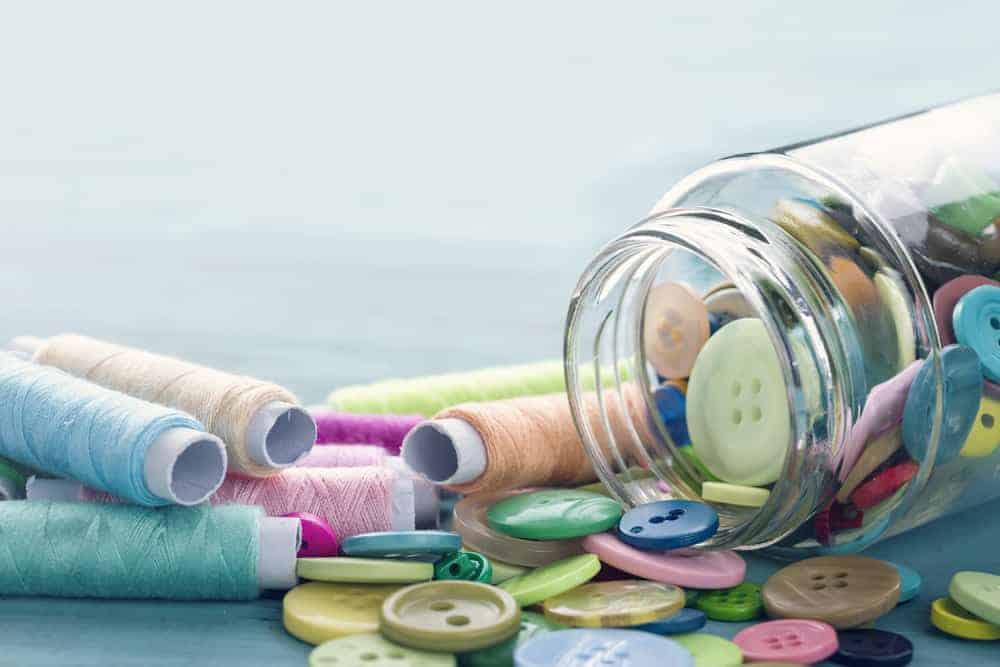
How to Repurpose Old Spice Bottles In Unique Ways
Have you recently cleaned out your pantry and are now wondering about what to do with all those old…
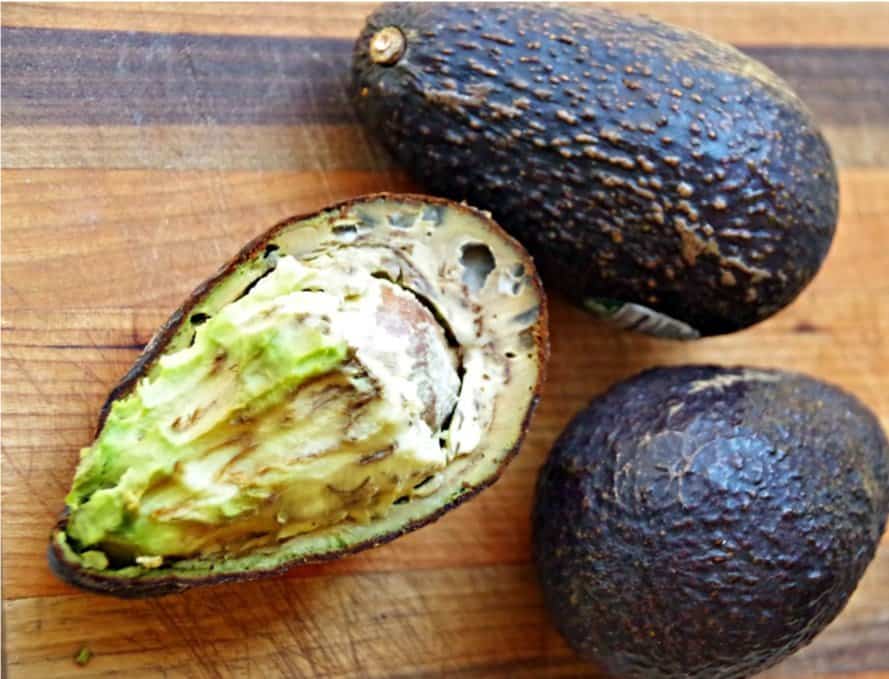
What To Do With Over Ripe Avocados
Last week, I bought several avocados with the intention of cutting them in slices for my salad and chopping…

ABOUT ME
Diane has a BS in Microbiology with a minor in Health Management and Policy. She is a busy mom of two college students trying to go green, get healthy, and simplify her life one step at a time. In addition to blogging, she is also a part time pharmacy technician and is currently enrolled in an American Sign Language certification course. In her free time she enjoys reading, gardening, and motorcycle rides in the mountain with her husband.
HEALTH
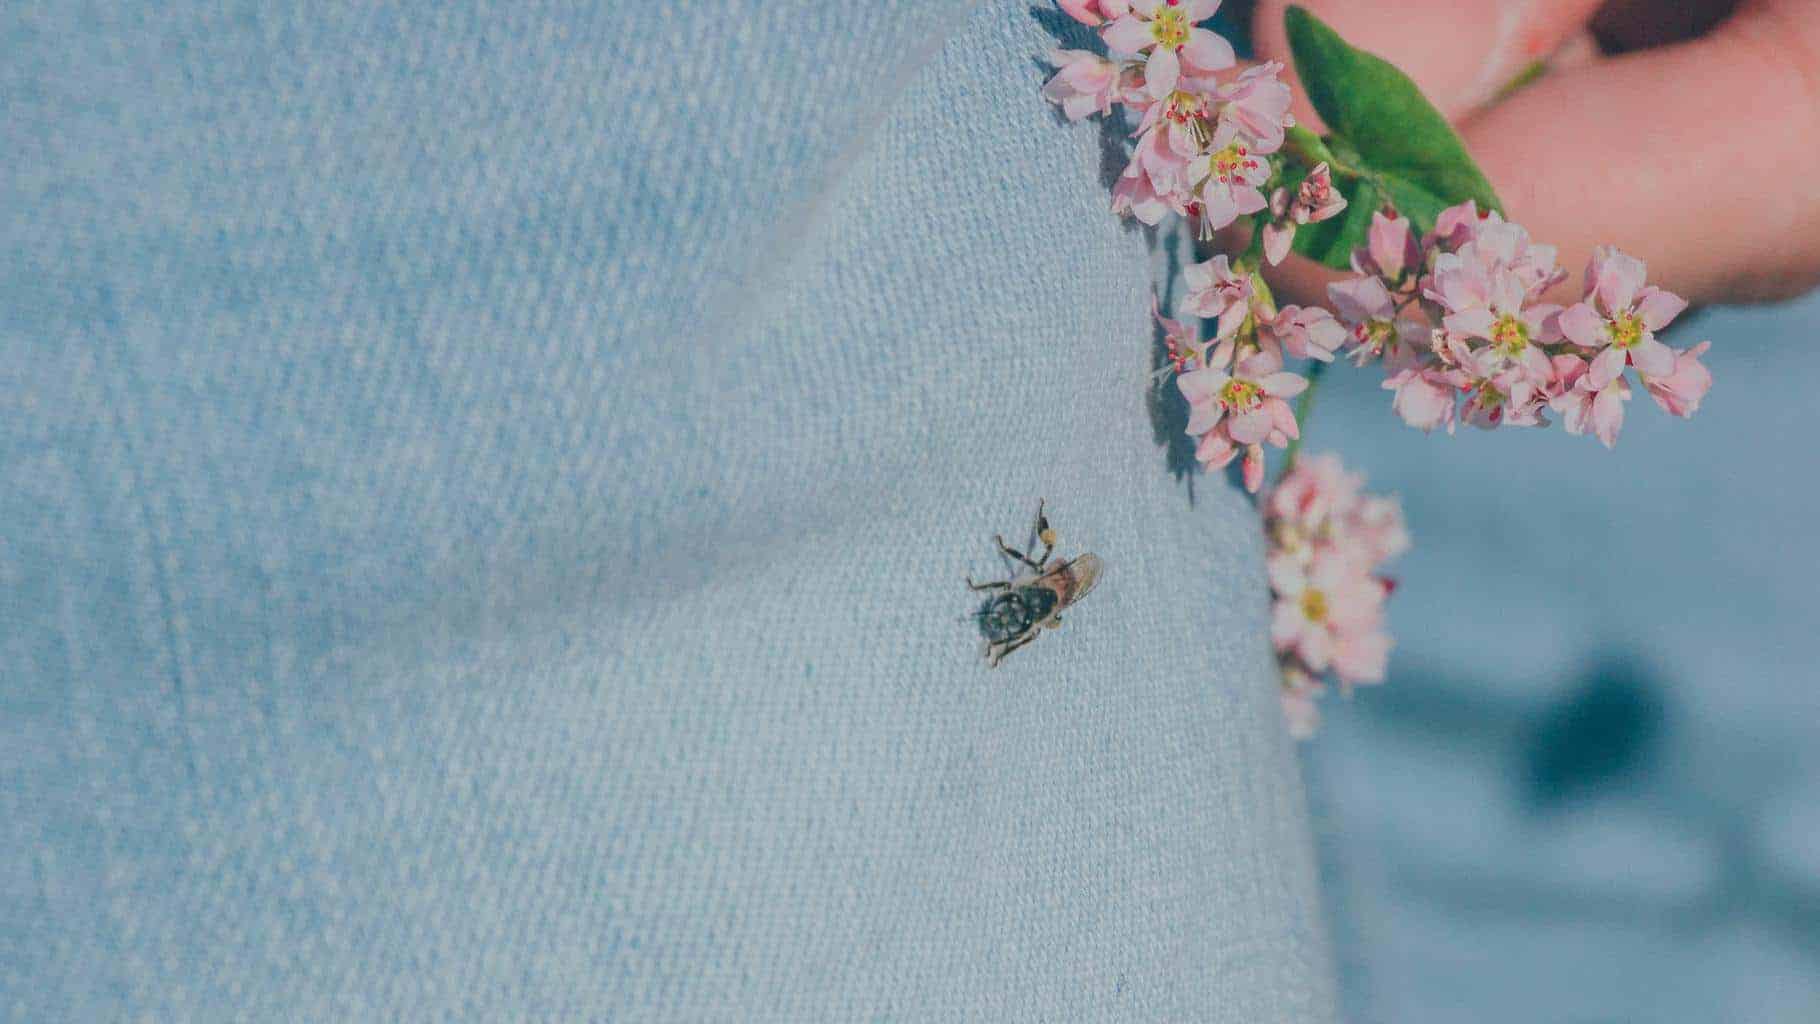
How to Avoid Bee Stings While Enjoying Nature
With the nice weather finally here, I am spending more and more time outside. If you love activities like…
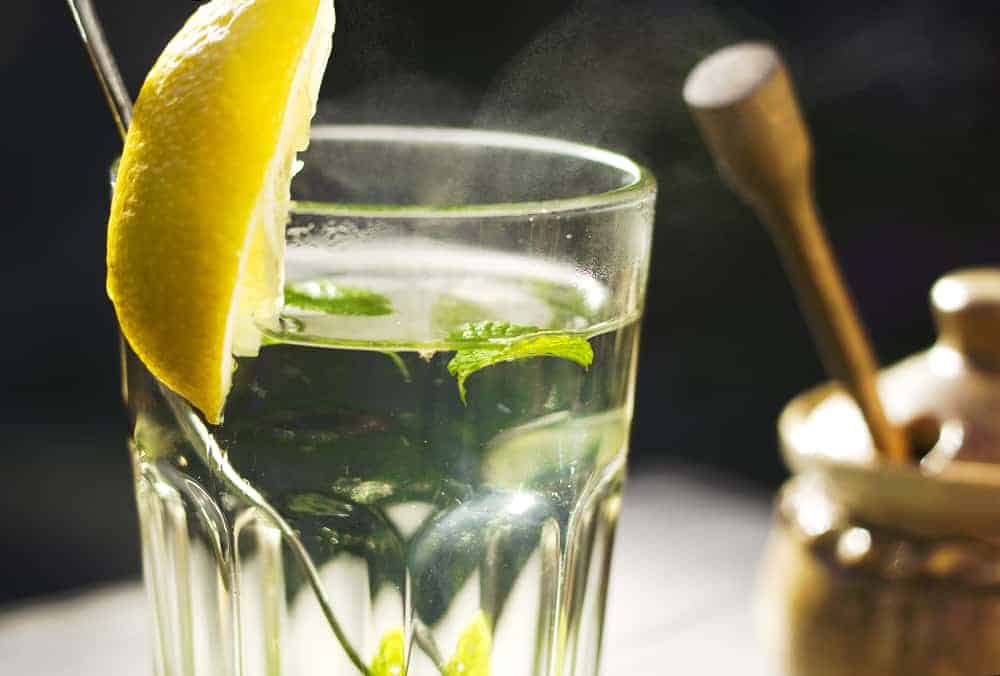
Warm Lemon Water Benefits and Side Effects
When I heard about the warm lemon water benefits being touted by health gurus, I was intrigued. I had…


GARDENING
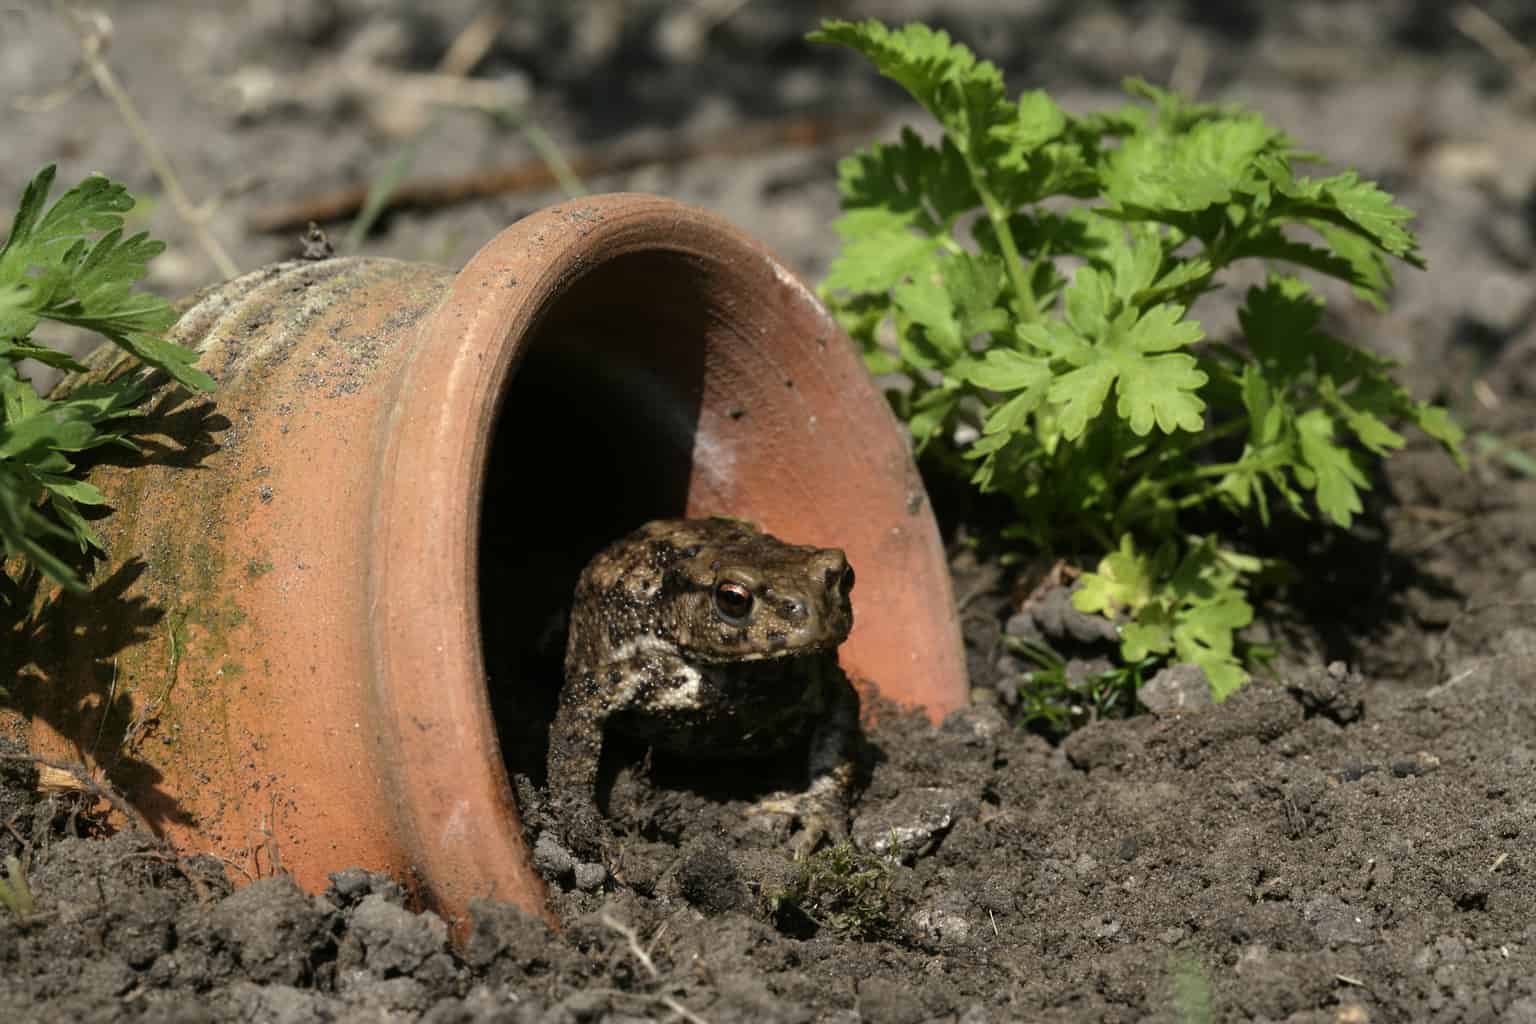
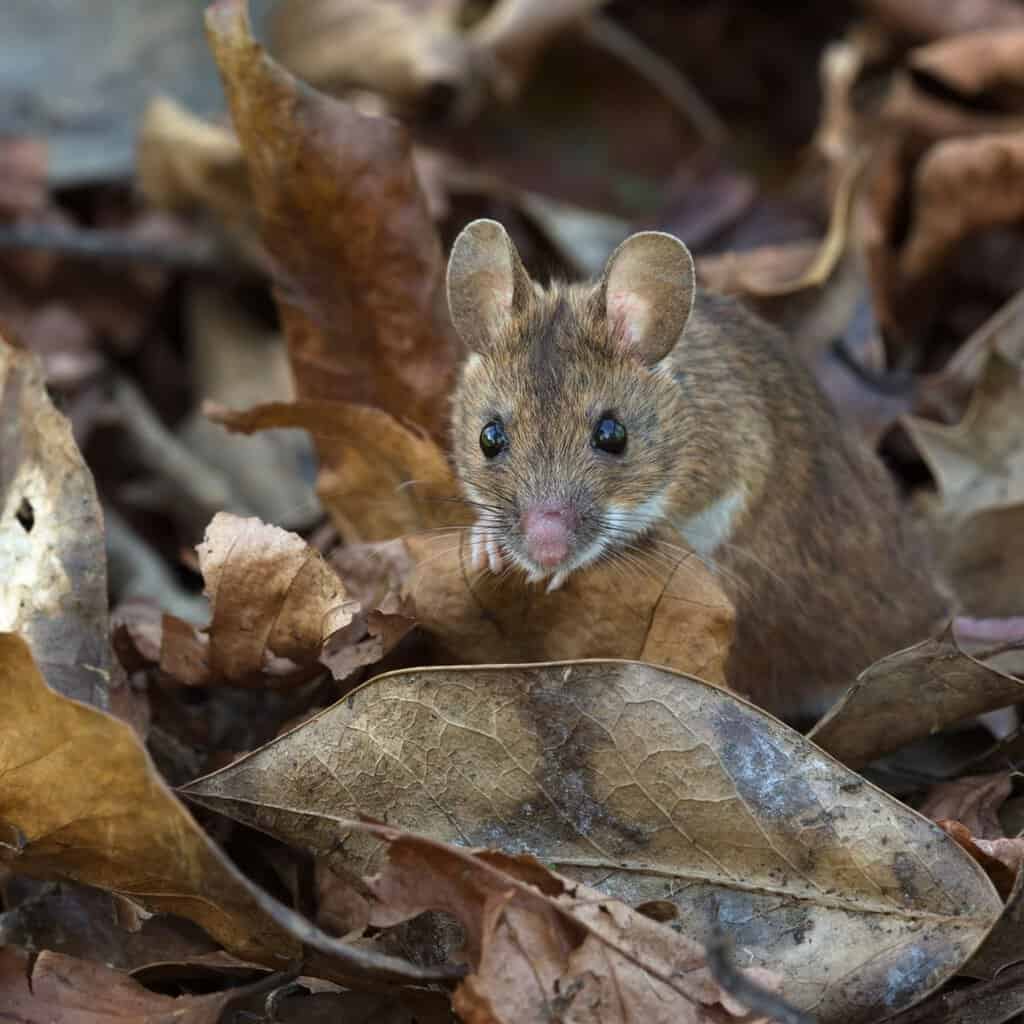
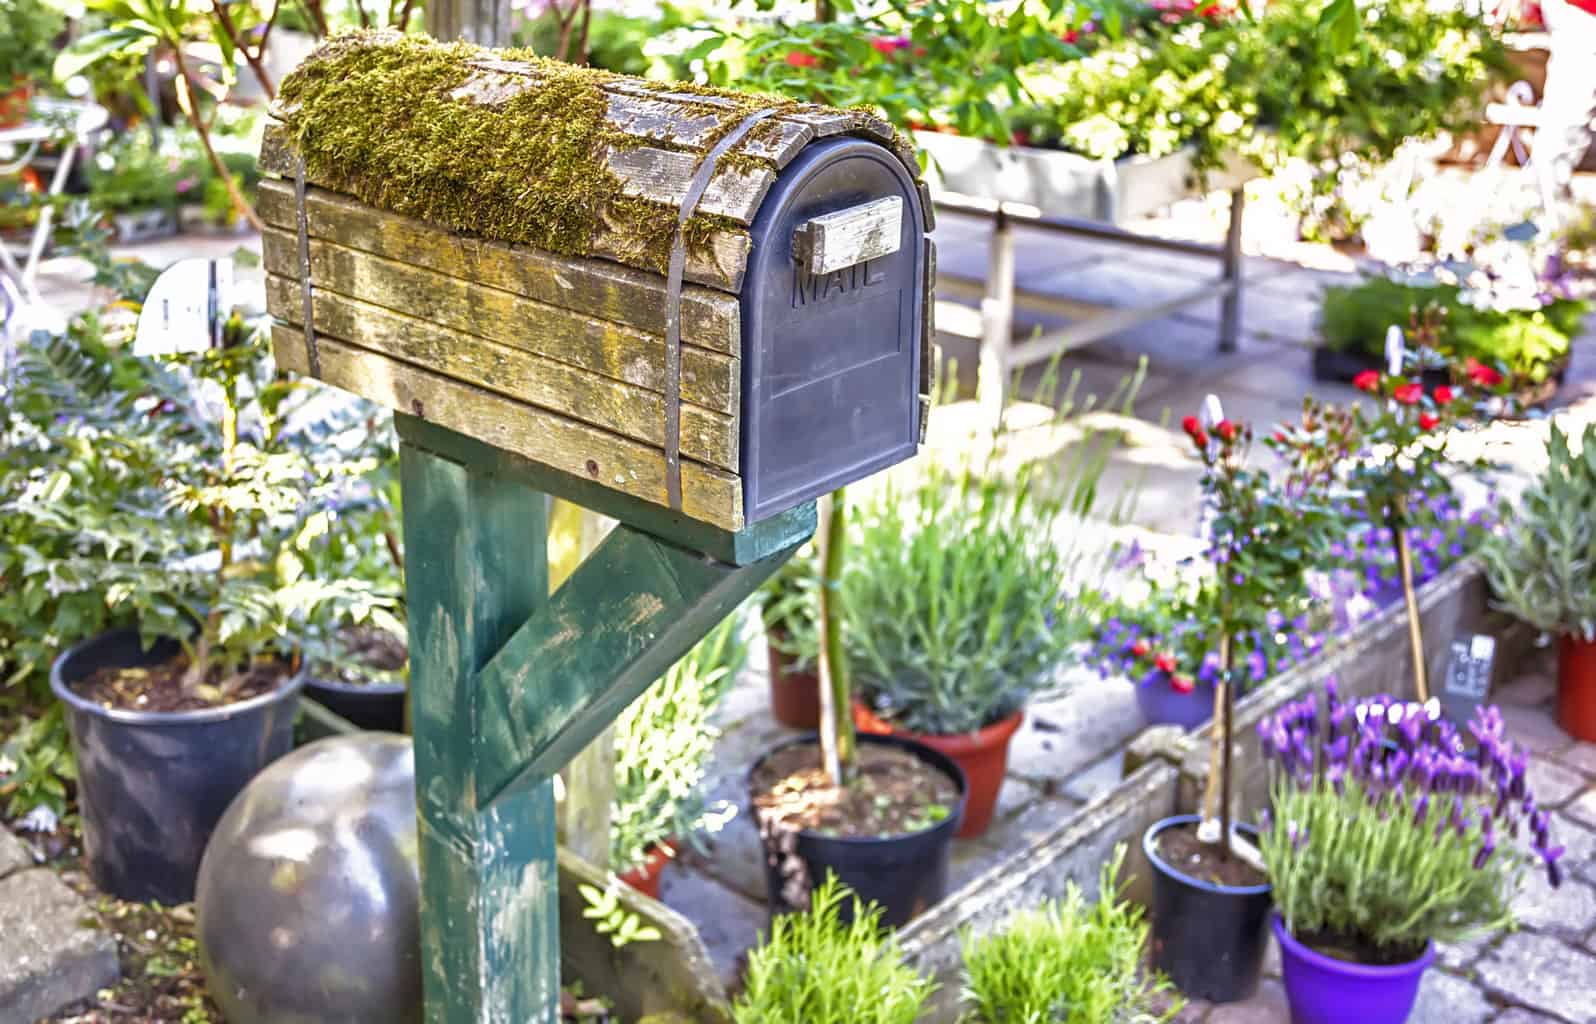
How to Attract Toads to Your Garden
I bet you are asking yourself why in the world you want to attract toads to your garden, right?…
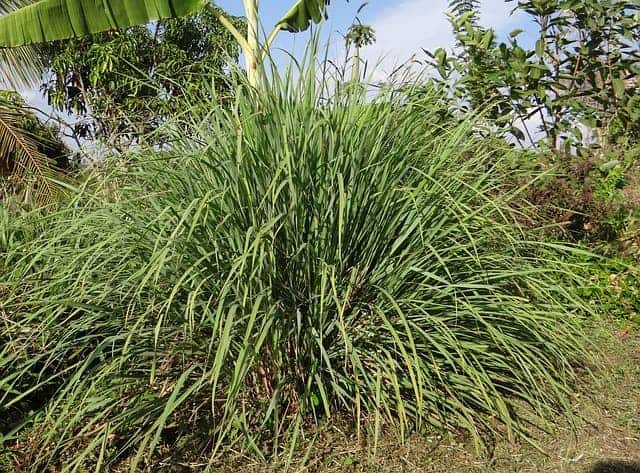
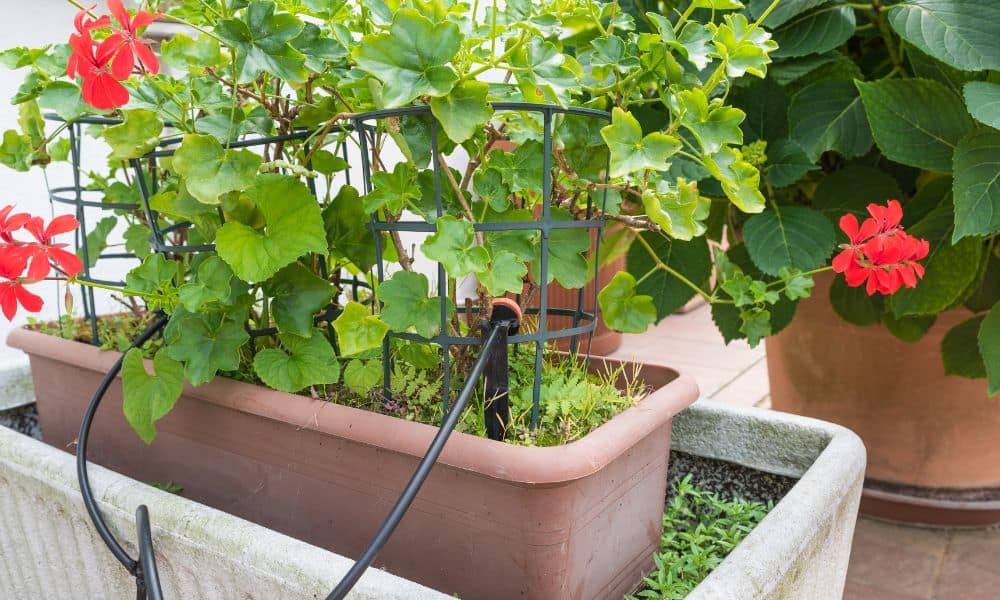
Lemongrass: How to grow it and what to do with it!
Several years ago my husband and I stumbled across a lemongrass plant at a local nursery while we were…


Turning the Clock Back is a site devoted to teaching people to go green, get healthy and simplify their lives one step at a time. People often feel overwhelmed with choices when it comes to living a more healthy and eco-friendly life. As a result, they often give up without trying at all.
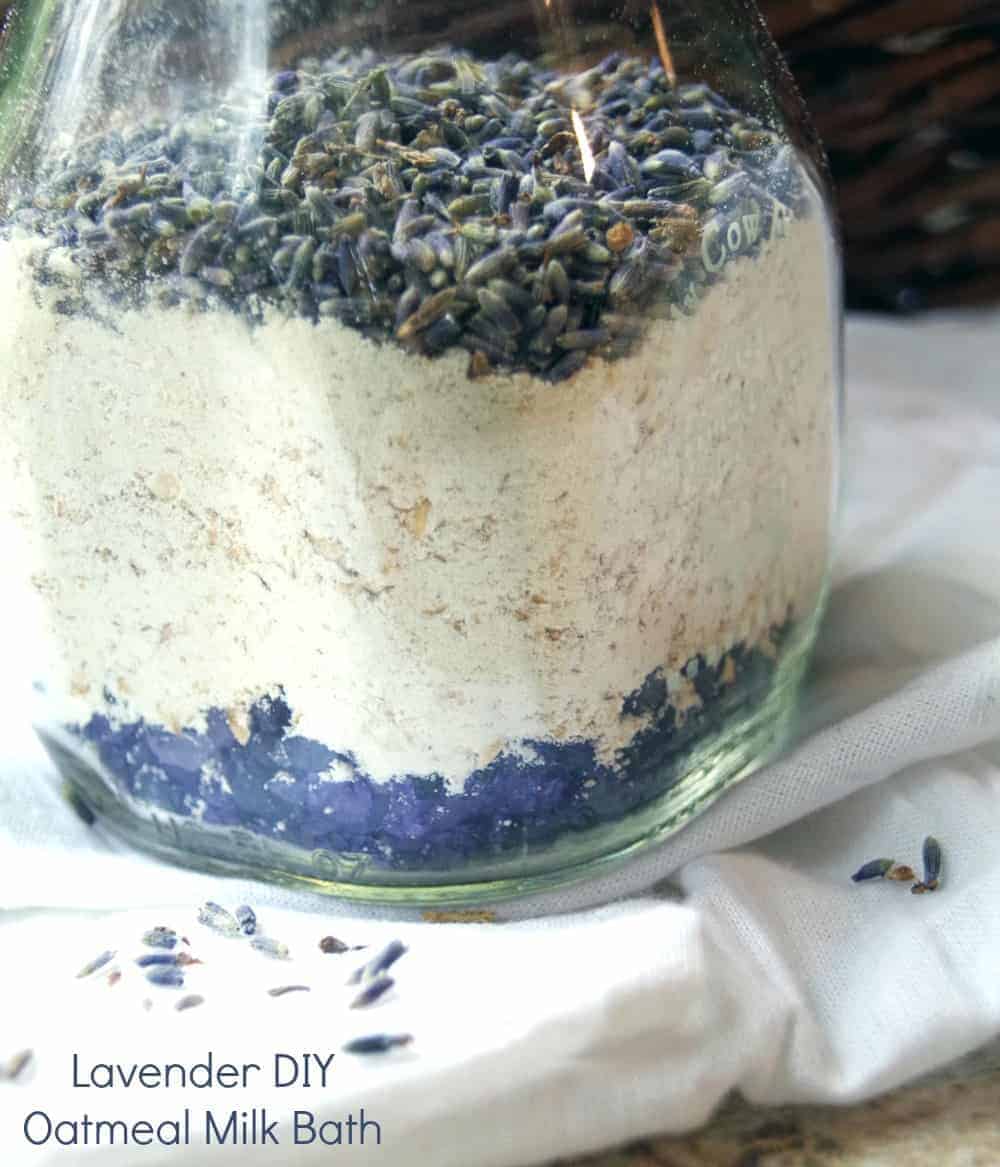
DIYS AND CRAFTS

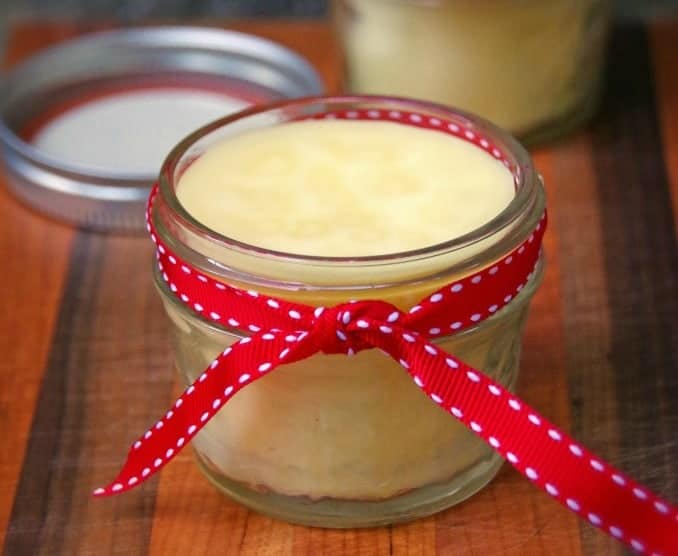
DIY Moisturizing Body Wash for Dry Skin
Having grown up in New England, I can honestly say that I really enjoy fall and winter weather. I…
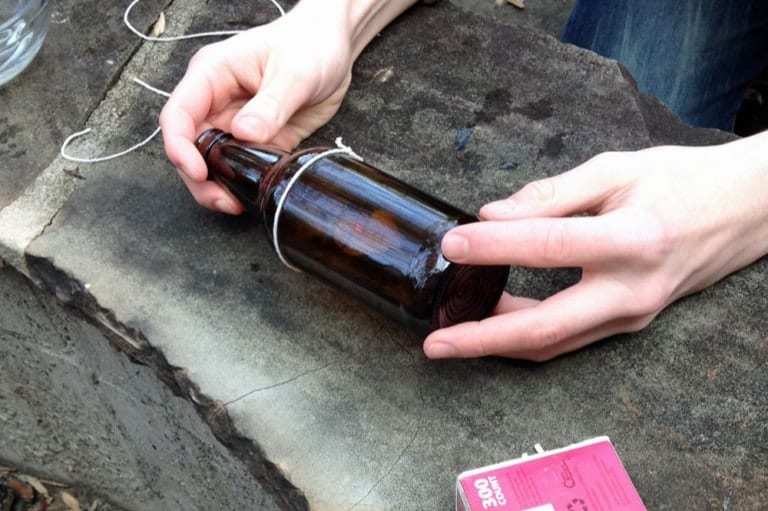
How to Cut a Glass Bottle in Half with String for Upcycled Crafts
I bet you are wondering why in the world you would want to know how to cut a glass…
HOUSE, HOME AND FAMILY
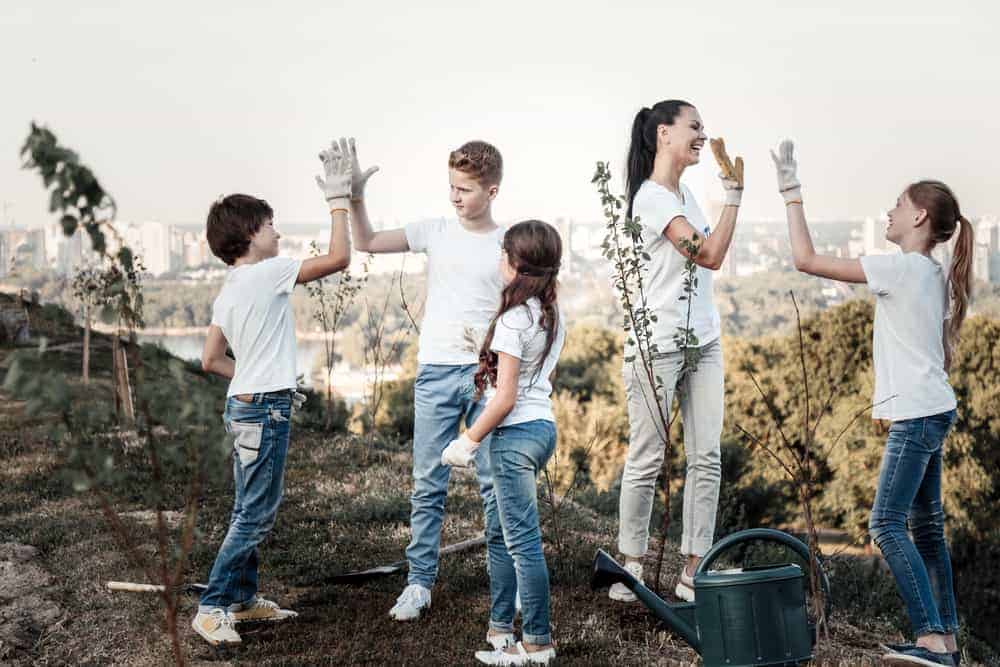
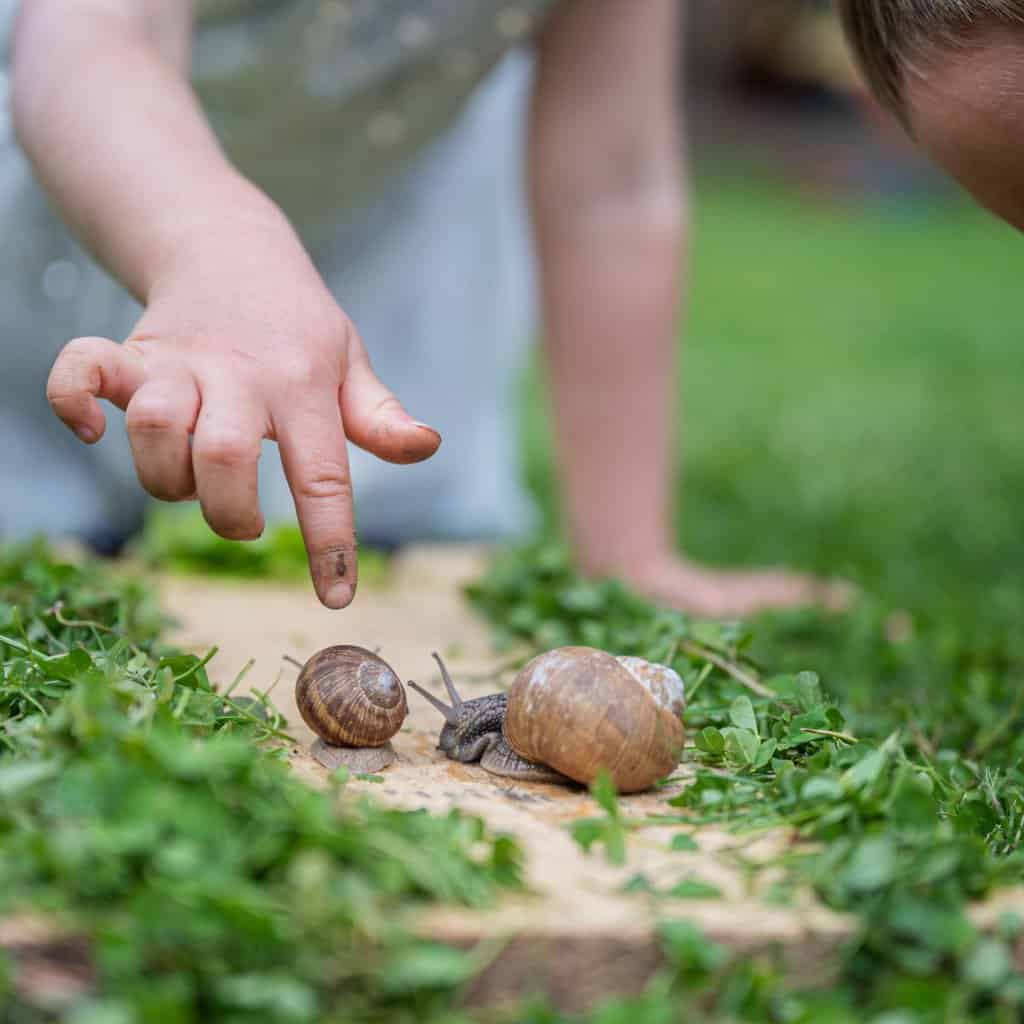
Environmental Projects for Kids
Green kids aren’t born, they are made. They are taught environmentally friendly habits by their parents and peers. Sustainability…
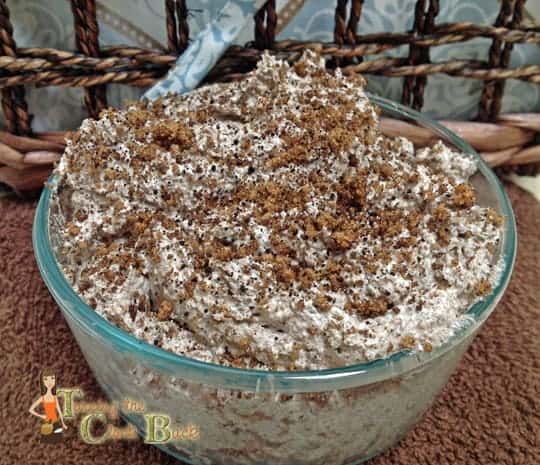
Homemade Shea Butter Scrub with Coffee and Brown Sugar
This homemade shea butter scrub is incredibly rich and moisturizing. It provides gentle exfoliation and leaves skin soft and…